Paper Marbling Activity
This paper marbling activity utilizes alternative media. Since many of us are hunkering down we are sharing around-the-house tricks and techniques for creating unique and engaging works. These activities are planned for any age level and can be modified easily to use anything you have on hand in your own house.
Art is everywhere! Lets get creating.
What is it?
Paper marbling is a process which utilizes intricate swirling patterns to create decorative papers. The effect is oftentimes similar to veining patterns in marble. To see how the pros do it check out this video. We will be doing a much easier process, so you’ve got this!
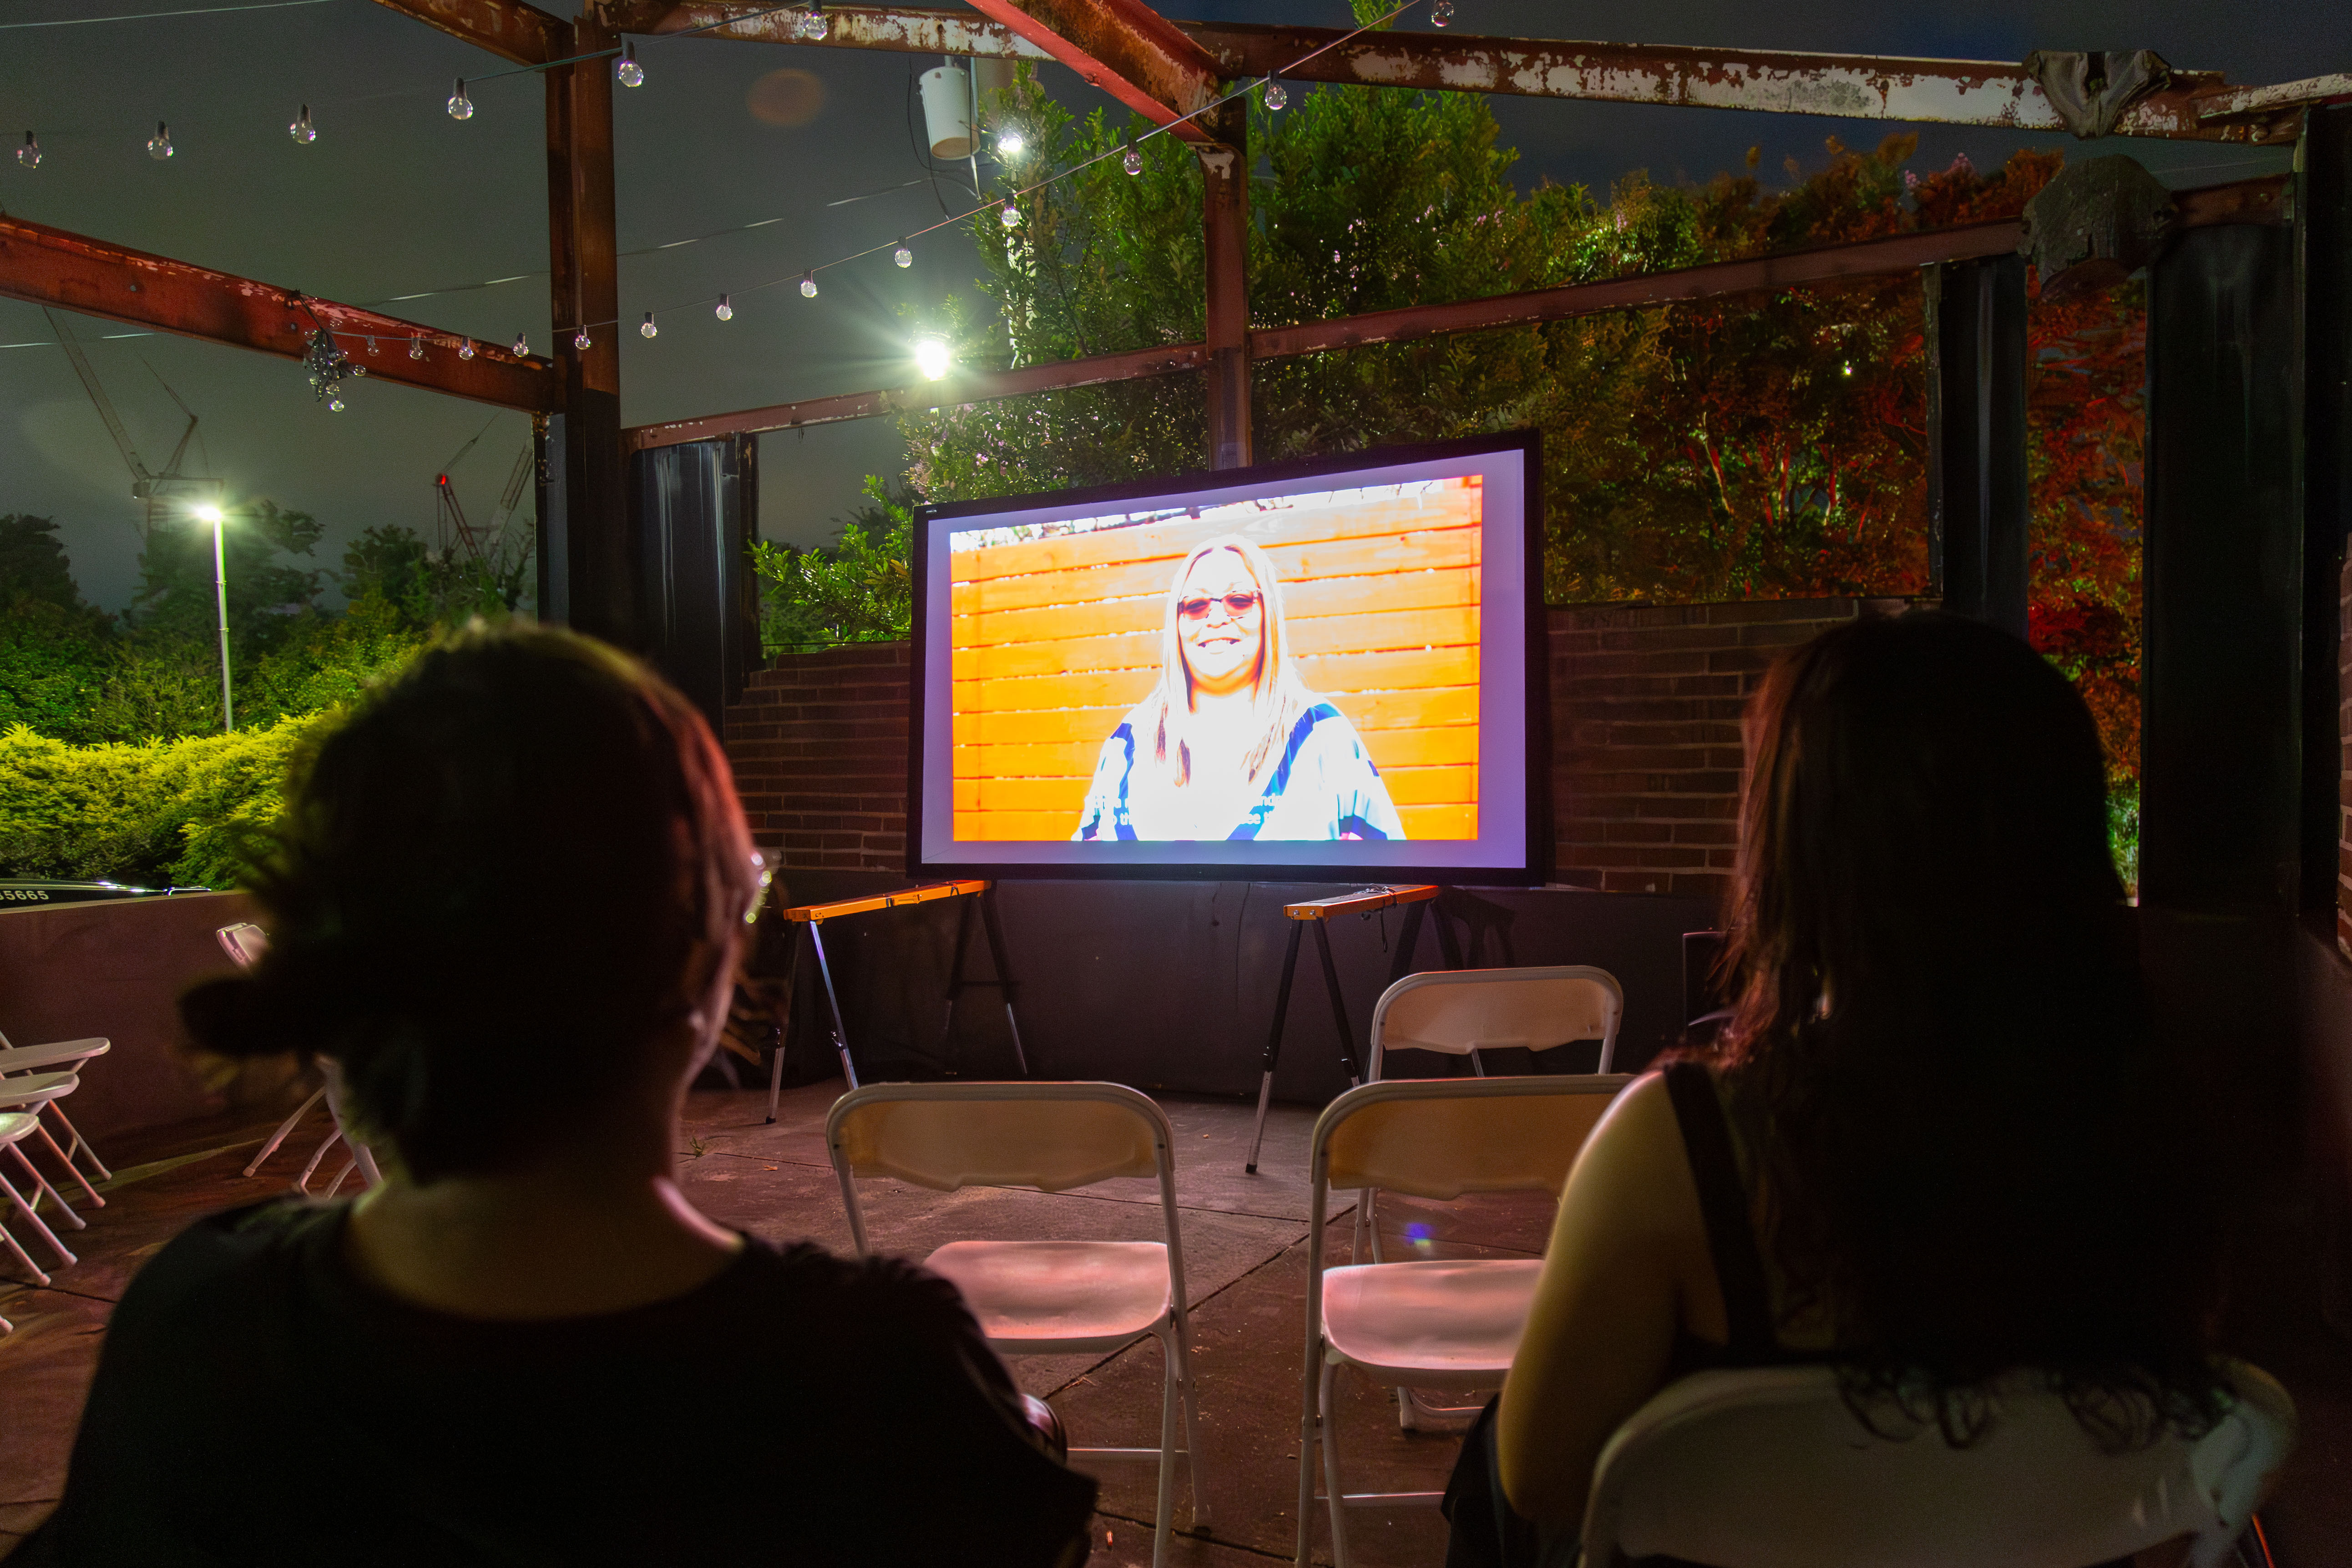
Love artworks with handcrafted paper processes? Check out our studio artist Kelly Taylor Mitchell at atlantacontemporary.org or her personal website.
Watch our video on YouTube to watch how it is done.
Materials
• Paper (any thing from printer paper to junk mail will work, but not glossy paper so no magazines for this process)
• Food coloring
• Shaving cream
• Pencil (pen, chopstick, or any tool you’d like to use to manipulate the color)
• Towel
• Small cardboard scrap (A cereal box but any sturdy paper or cardboard will work great)
Step 1: Lay down your surface to be marbled.
• Shake up your shaving cream and lay down a layer about one inch larger than your paper.
• Use your hand to spread out the shaving cream into an even layer.
Step 2: Add drops of food coloring
• Think about the color scheme you would like to use for this work. The colors will become mixed together so be thoughtful in your color choices. Not sure? Try using warm colors or cool colors.
•Place dots of color evenly around your marbling surface. A little color goes a long way, so don’t go overboard.
Step 3: Marble it!
• Use the pencil/chopstick to create swirling patterns in the marbling surface. Experiment with different hand motions to see which techniques you like best.
•Be sure to create your motif to the edge of your marbling surface, that way your paper will receive maximum color.
Step 4: Transfer Color
• It is time to transfer the color from the marbling surface onto your paper.
• Place the paper down on top of the marbling surface. **once you have placed the paper down do not shift it** this will disrupt your design. Just drop the paper down and leave it where it lies.
• Press down very gently and evenly to ensure the paper is making full contact with the marbling surface.
Step 5: Reveal
• Peel back your paper and lay it flat on the table.
• Use the small piece of cardboard to remove the excess shaving cream
• Voila!! You made a fantastic piece of marbled paper! This paper can be made into a greeting card, gift wrap, organizing labels, and anything else you can think of.
Step 6: Repeat!
• Wanna do it again? Simply smooth out your shaving cream, add more dots of color, and repeat the process all over again.
• The shaving cream will last for several prints.
• When finished simply wipe up the shaving cream and enjoy your new decorative paper and your fresh smelling table top.
• **In our experience the work surface has not been discolored by food coloring, however, if you are concerned with your work surface simply wrap a cutting board in plastic wrap, use the wrapped board as your marbling surface, and remove the wrap when you have finished.
Thanks for creating with us! Until next time, think of some other ways to use shaving cream or food coloring to be creative. We’d love to see what you’re making.