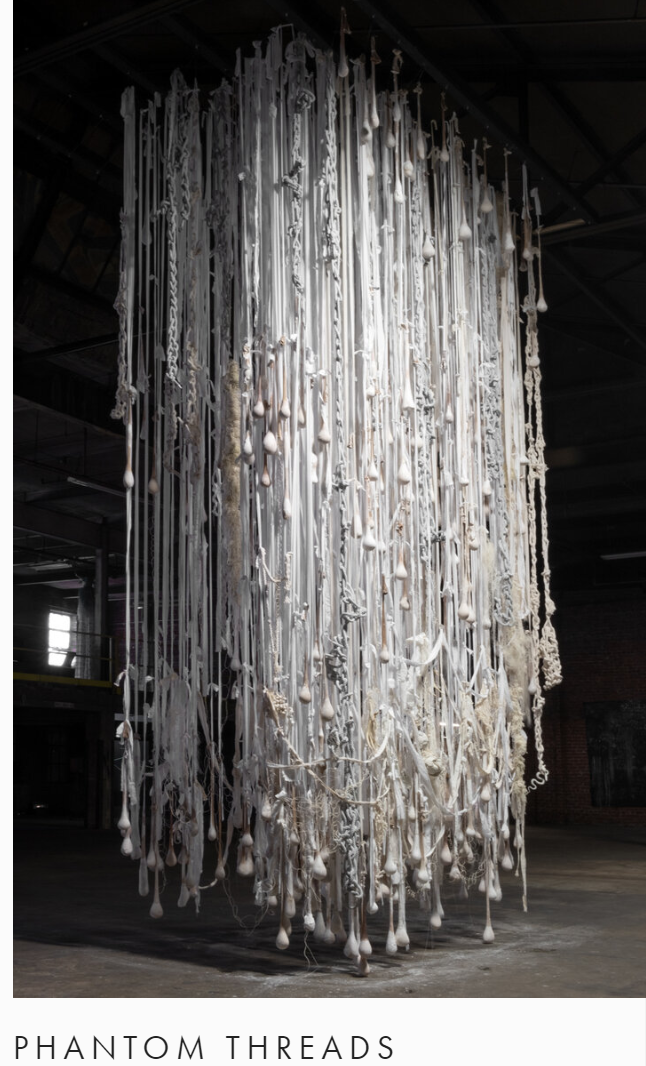
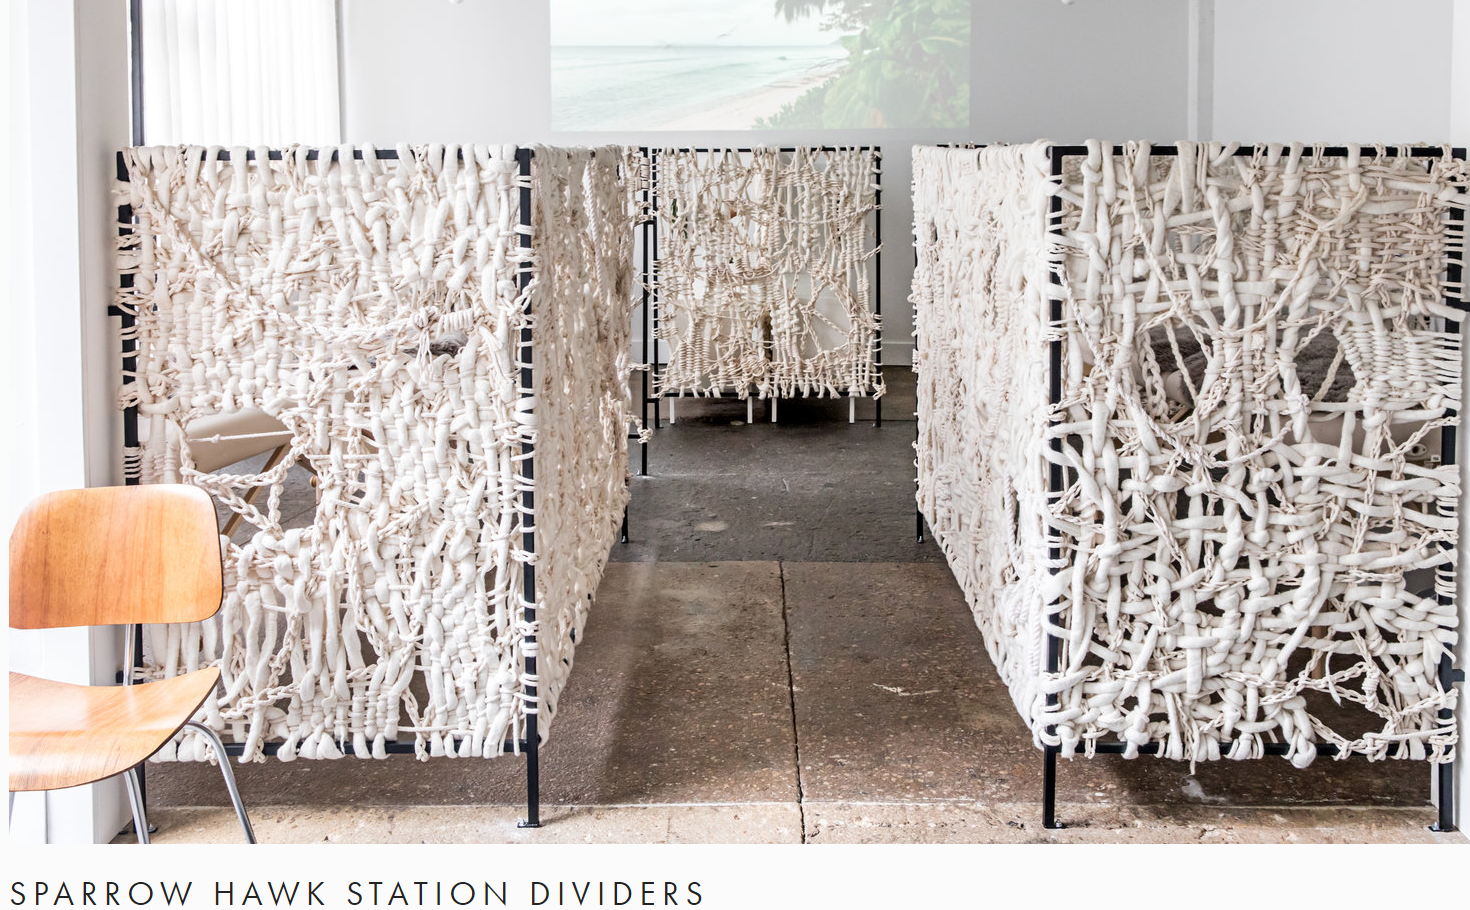
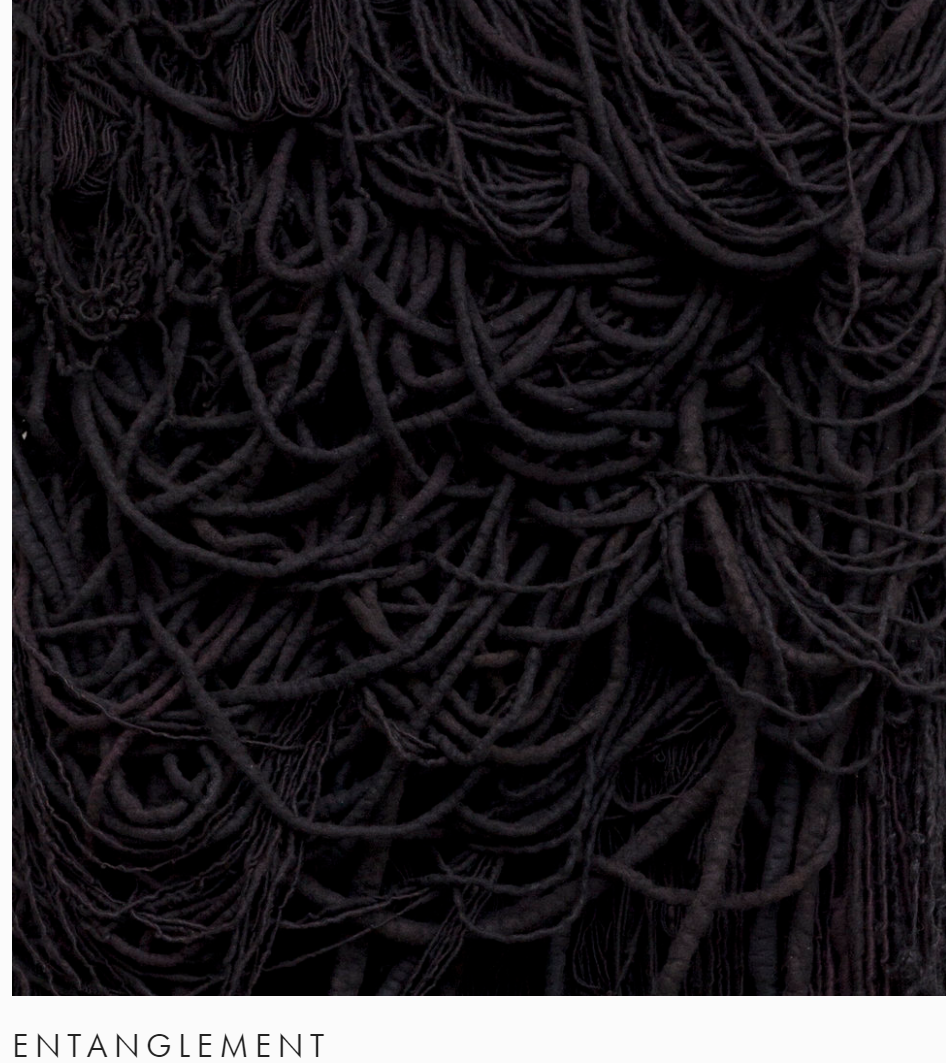
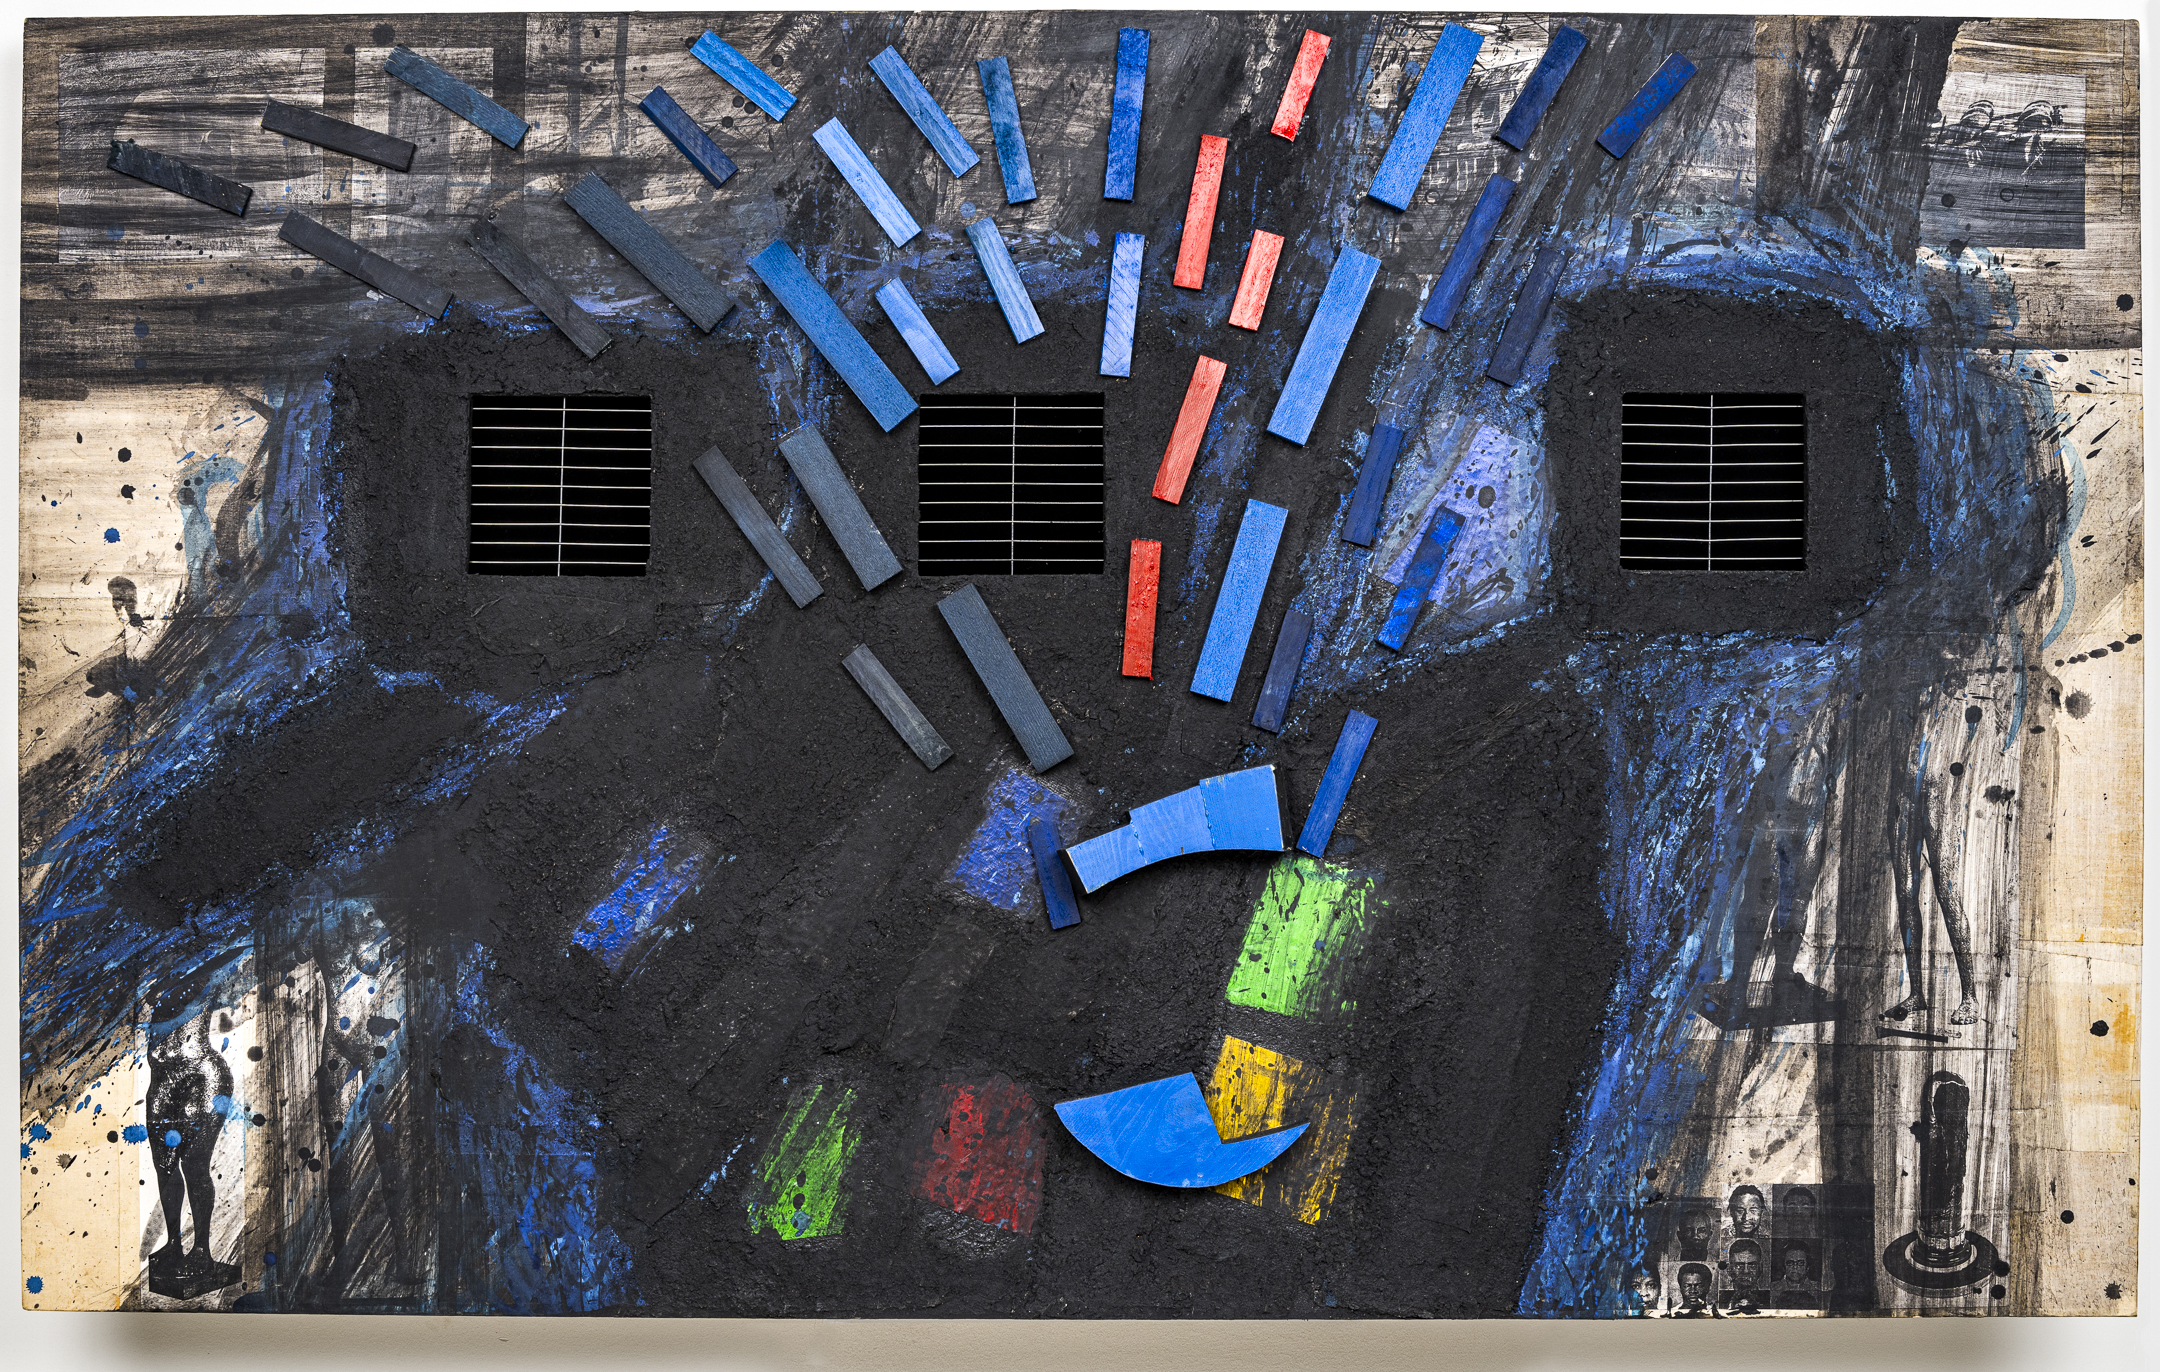
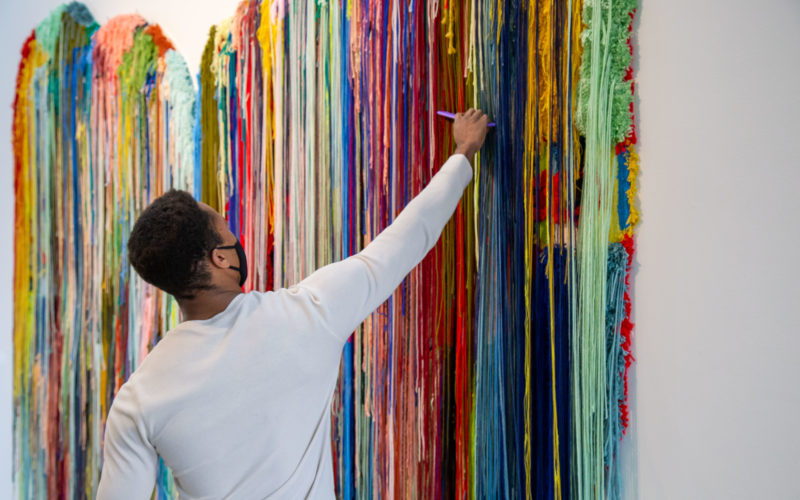
Sonya’s work involves repetitive processes, differing textures, and unusual found objects.
Sonya focuses on repetition in her art making by creating multiple series of objects and using processes like weaving. Weaving is a process in which the maker moves materials through a warp over and under, over and under to create a large block of textile. These photos show off some of the unique ways Sonya uses weaving in her work.
Atlanta Contemporary is changing the way we all see art.
Our pop-ups are designed to inspire you to create using whatever materials you have and incorporate your artist practice into your daily routines. Art is everywhere and artists do not need fancy materials to create. We want to empower you to be an active part of our arts community.
Let’s explore weaving with recycled materials.
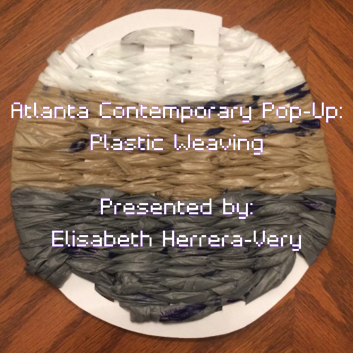
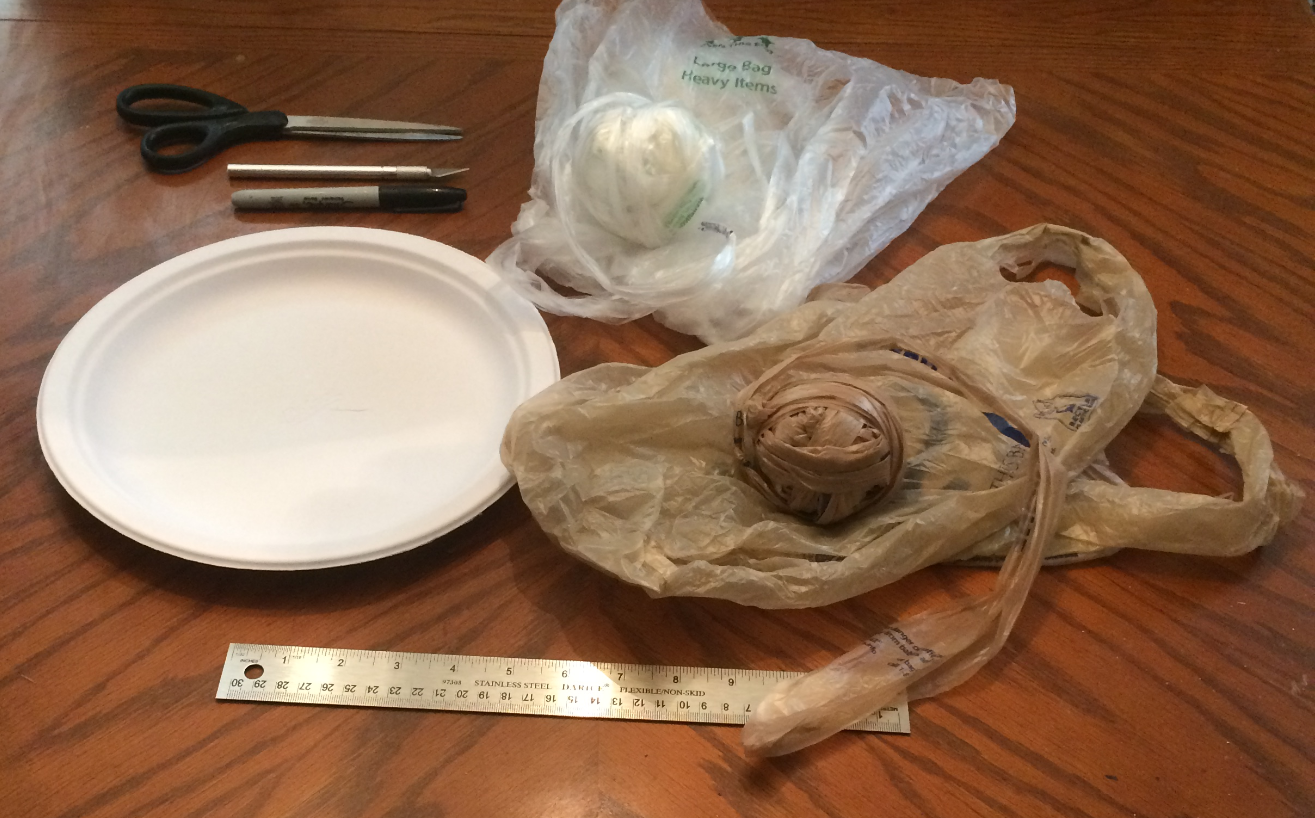
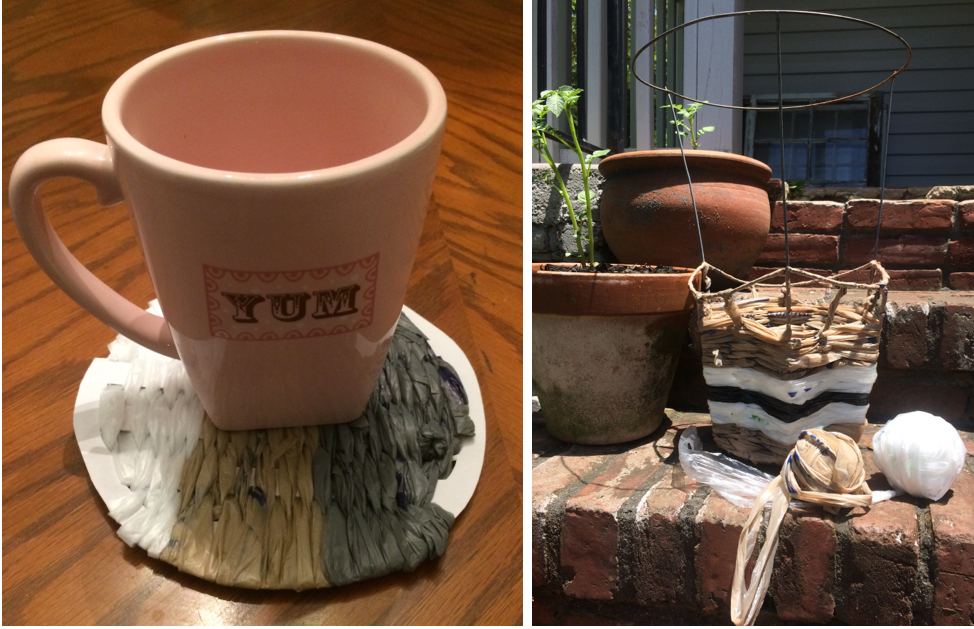
Nearly any material that can be manipulated into strips can be used for weaving. Reclaimed cloth from old clothing, long blades of grass or vines, or even materials from the recycling bin can be used in weaving. In this tutorial we will be using reclaimed plastic bags from the grocery store. They’re waterproof, free, and easy to acquire. When trying out this technique think about how this process can be useful to you.
Step 1: Prepare your weft materials
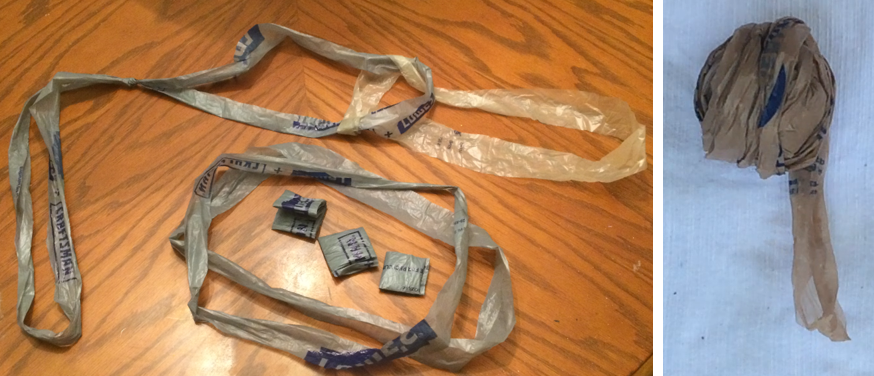
The weft are the long strands from which your weaving is made. Smooth out a plastic bag on a flat surface. Use scissors to cut off and discard the seam at the bottom of the bag. Cut across the bag to create a series of one-inch plastic loops. Tie the loops together to create a long strand of plastic. As you weave, you’ll continue to attach loops to each other and keep the strand growing. Think about any other materials you’d like to use in your weaving, such as, cardboard strips, backyard vines, or old unwanted clothing strips.
Step 2: Prepare your warp
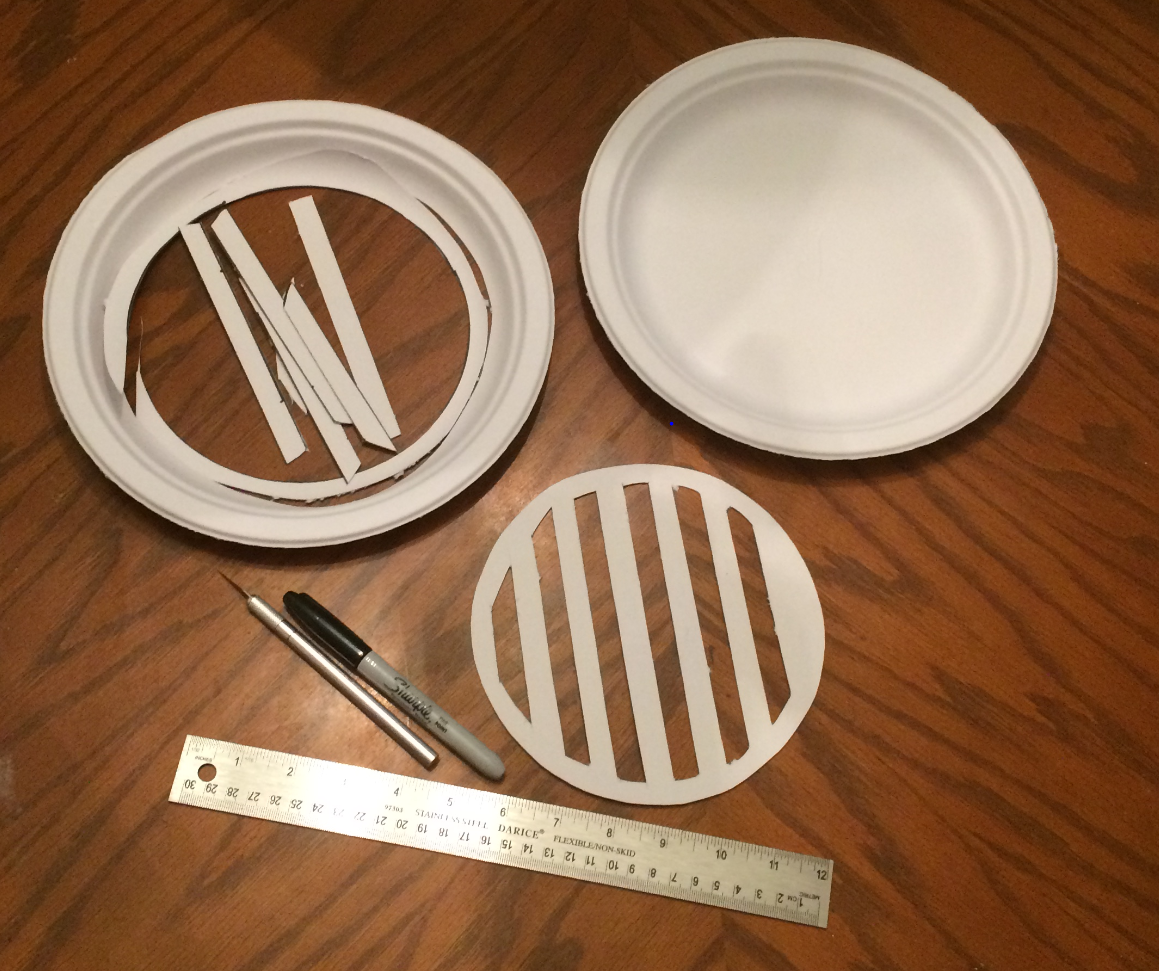
The warp is what you’ll be creating your weaving on. For this tutorial the warp will be a paper plate (Our video tutorial for this pop-up showcases weaving on a tomato cage from the garden). The size of the warp will determine the size of your weaving and will become a part of the weaving. When deciding upon a warp think about the purpose of your weaving or a problem that can be solved by weaving and go from there.
Step 3: Time to weave!
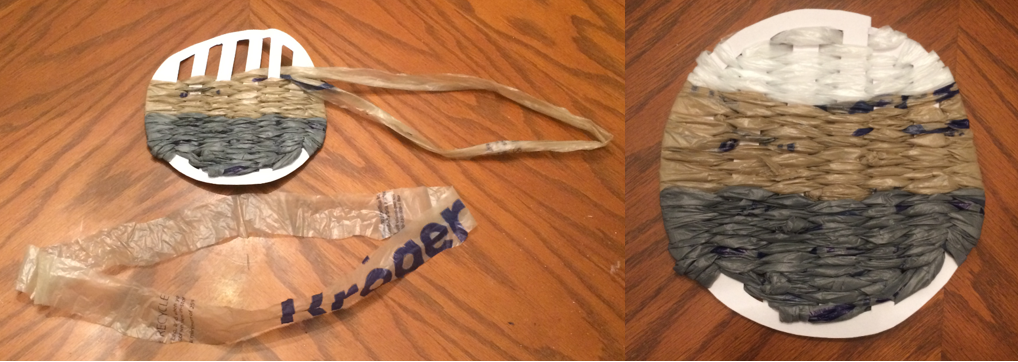
The weaving process is repetitive, you’ll be repeating the same motions again and again to make your weaving. No matter what materials you’re using for your warp and weft you’ll use the same procedure. Begin on the bottom most corner of your warp. Pull through your first loop moving over and under, over and under across the warp. When you reach the end of the warp, turn the corner without breaking the pattern and keep going. Continue weaving and adding loops to your weft until you complete your weaving. Think about using a variety of textures and consider your color scheme.
Share your work!
We love to see how you use these prompts in your artist practice. Share your work with us on social media using the tag #ACMakes.
