Our story starts with Nexus.
Past Event July 10, 2020 / 11:00am – 4:00pm
Virtual Pop-Up: Recycled Books
Virtual
Activity
We want to stay connected and creative with our community during these unprecedented times.
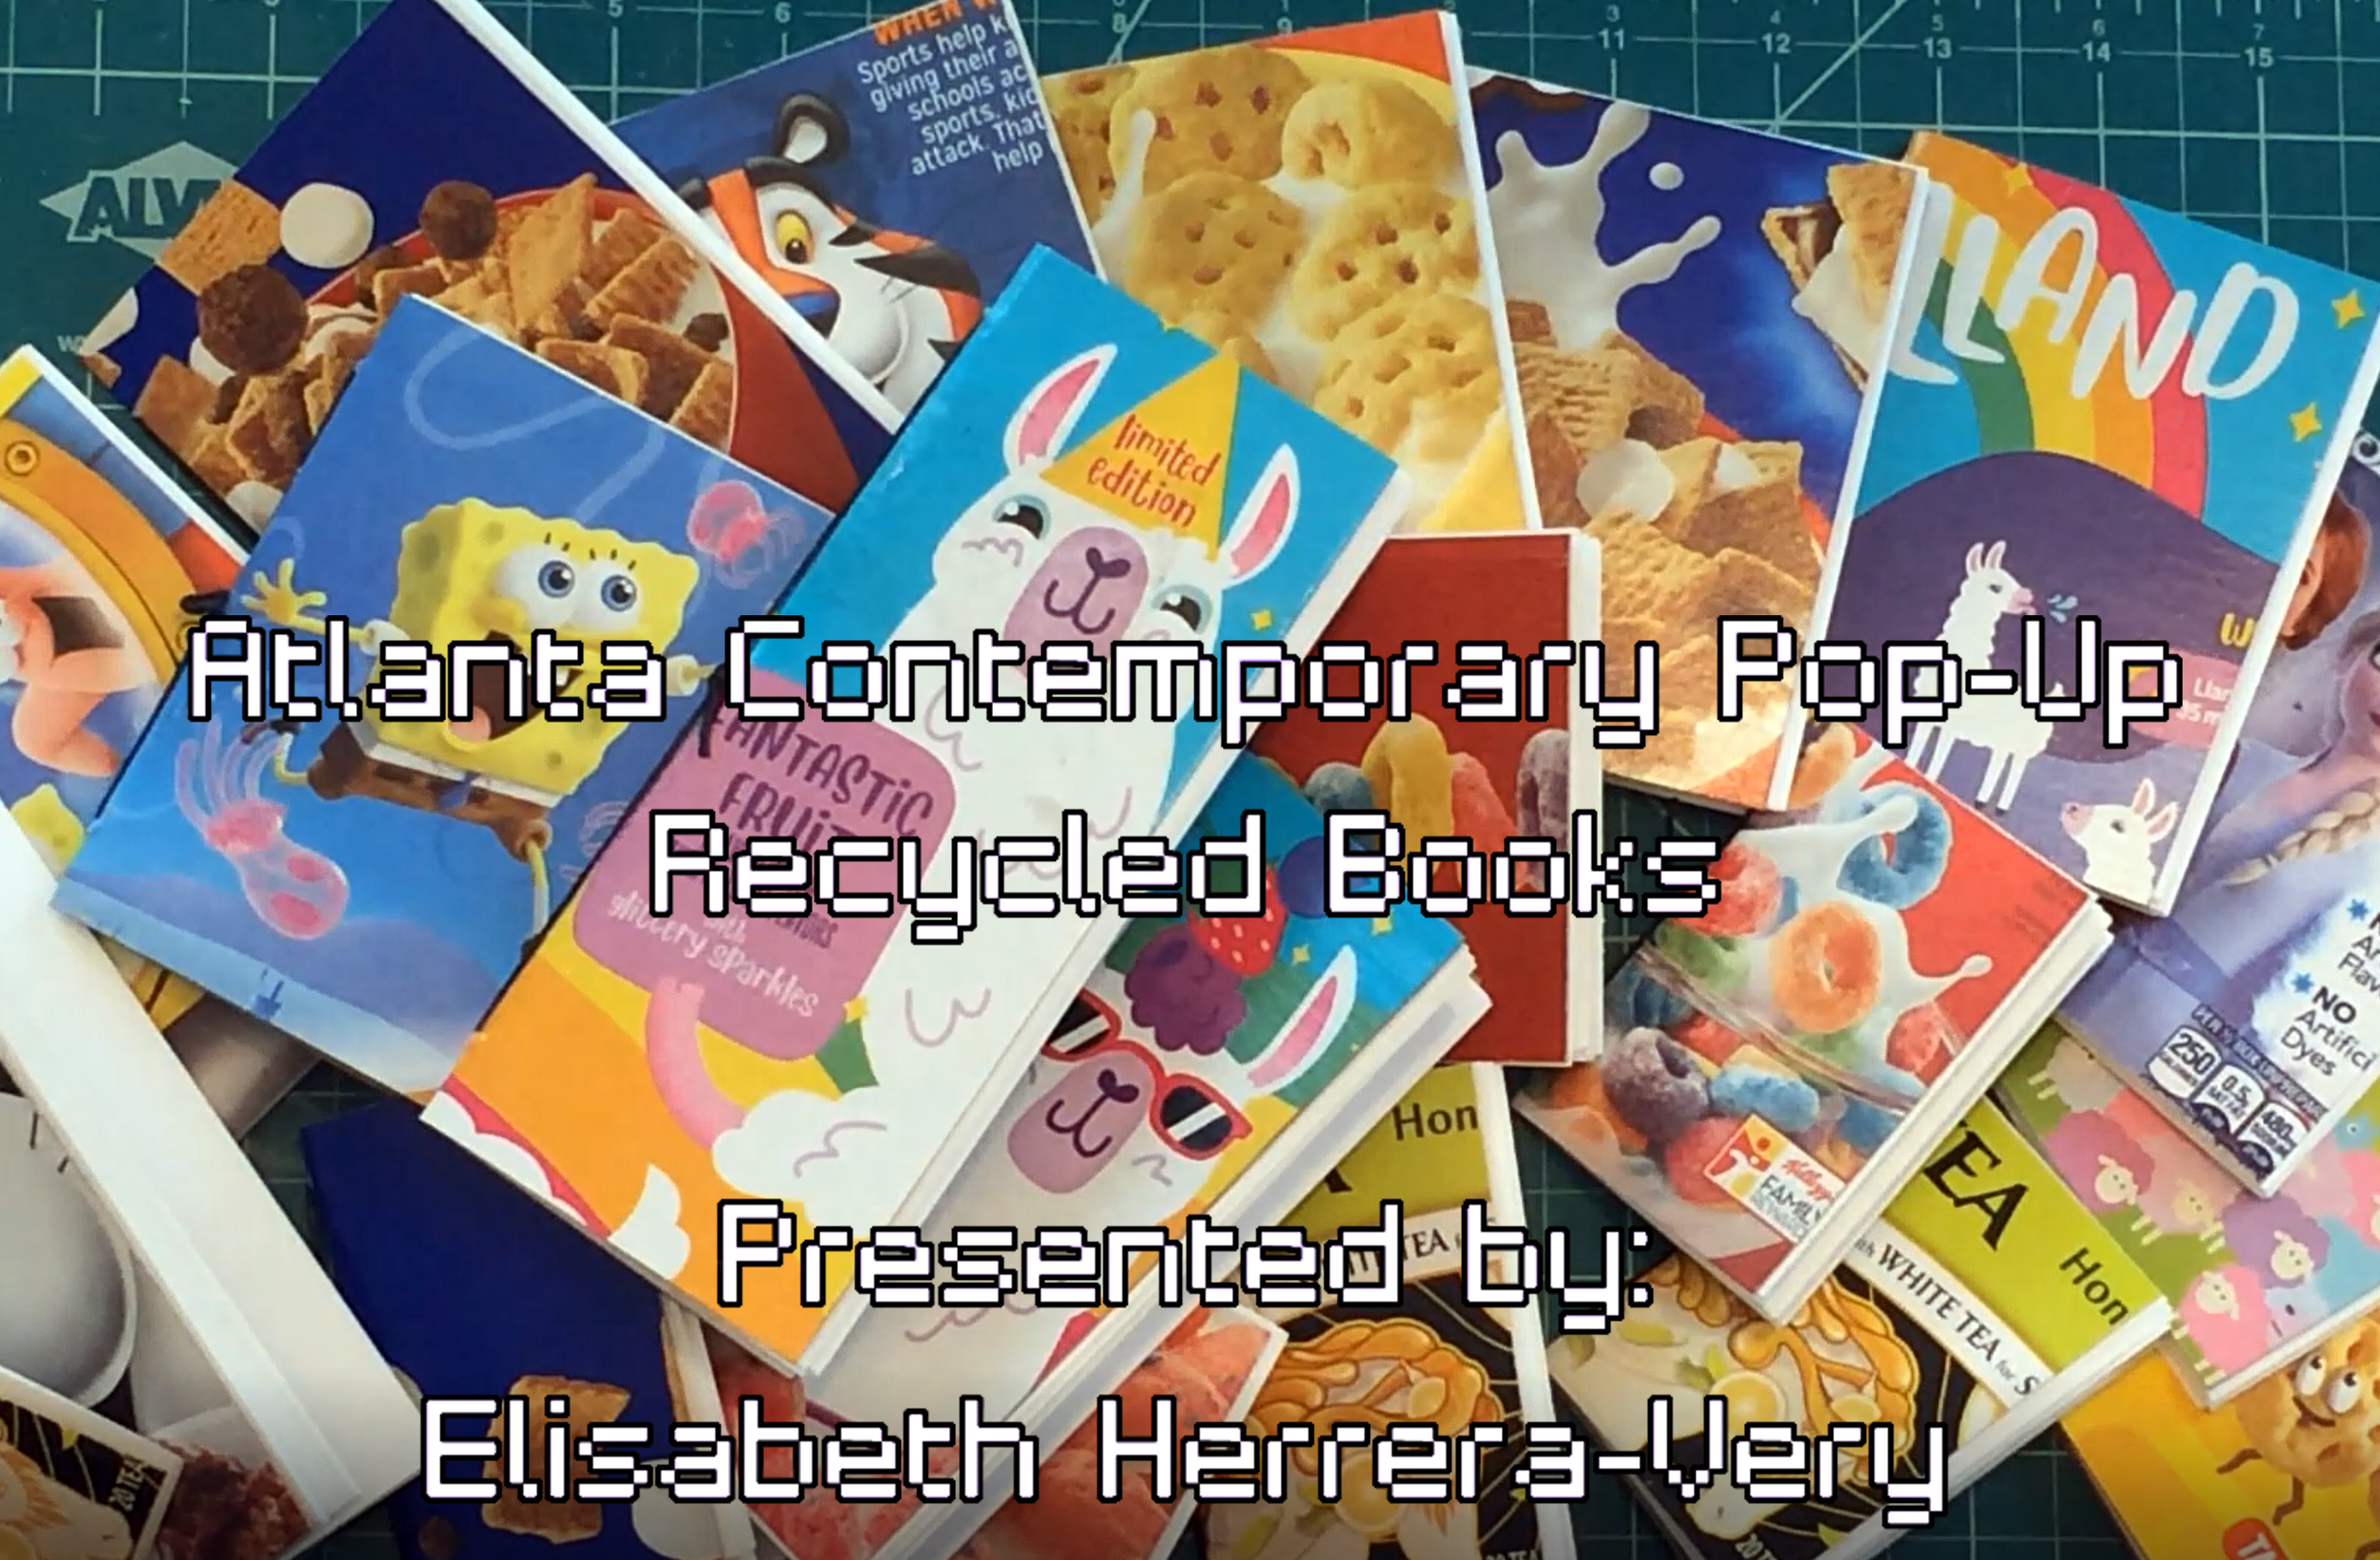
Our first opportunity we are sharing is our Virtual Pop-Up. For the next few weeks, arts instructor Elisabeth Herrera is sharing virtual activities to keep you inspired. Follow along with each activity and share your creations with us on Instagram (@atlantacontemporary) with the hashtag #ACMAKES
We look forward to seeing everyone’s creations and continuing the excellent conversations we usually have in person in a digital space.
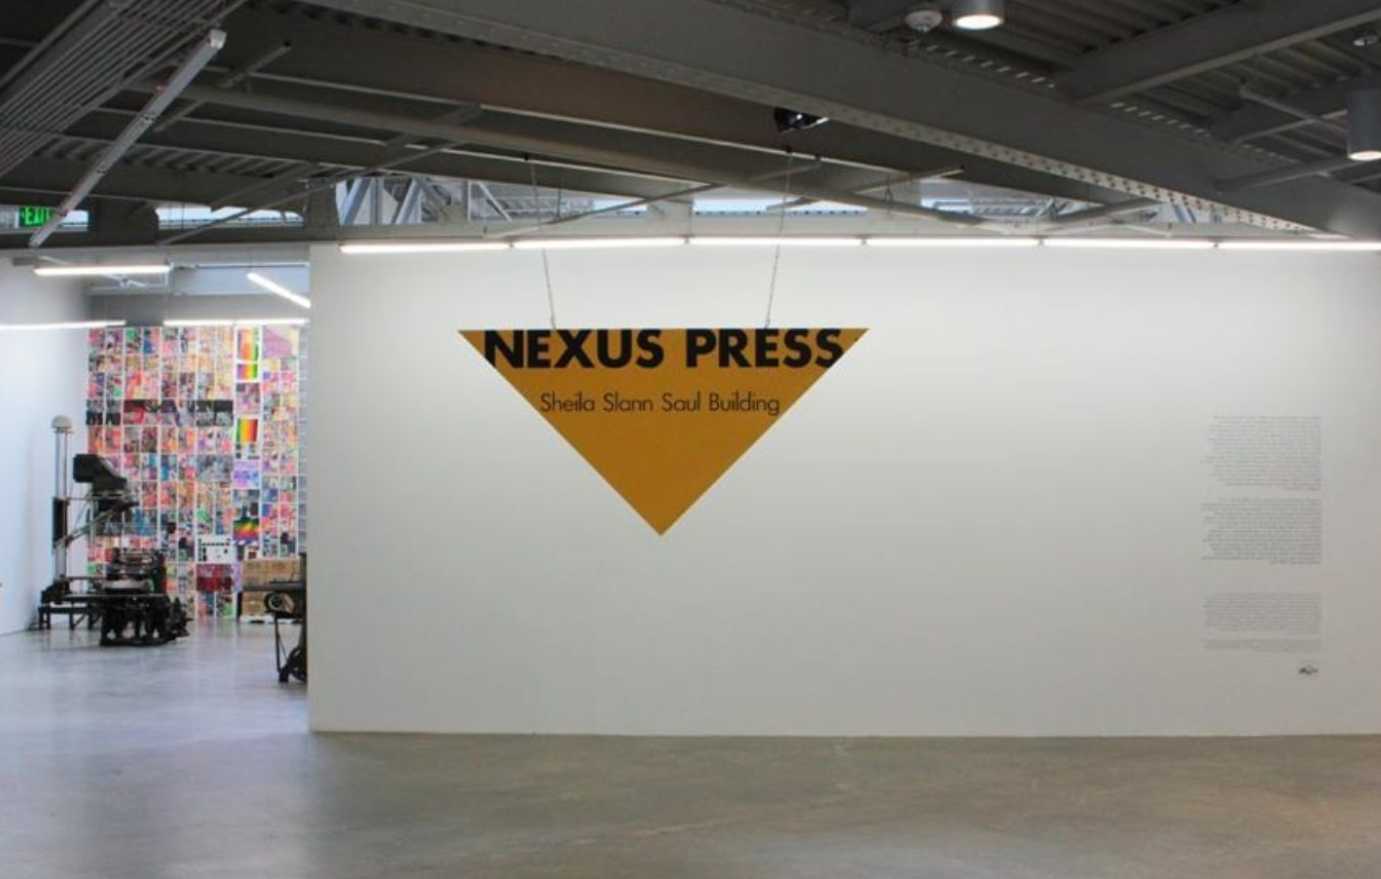
Atlanta Contemporary began as Nexus Press. According to www.allnexus.press:
“From 1977-2003, Nexus Press of Atlanta, Georgia was devoted to the production and publication of experimental artists’ books. As one of the premier non-profit visual arts book presses in the United States, it produced and published over 200 original works. The press collaborated with national and international artists, including a series of international artists’ books produced as part of the Cultural Olympiad of the 1996 Olympic Games.
Nexus Press books are held in major collections throughout the world, including the Museum of Modern Art, The Whitney Museum of American Art, Victoria and Albert Museum, and the Rijksmuseum, in addition to many college and university research collections” (https://www.allnexus.press/)
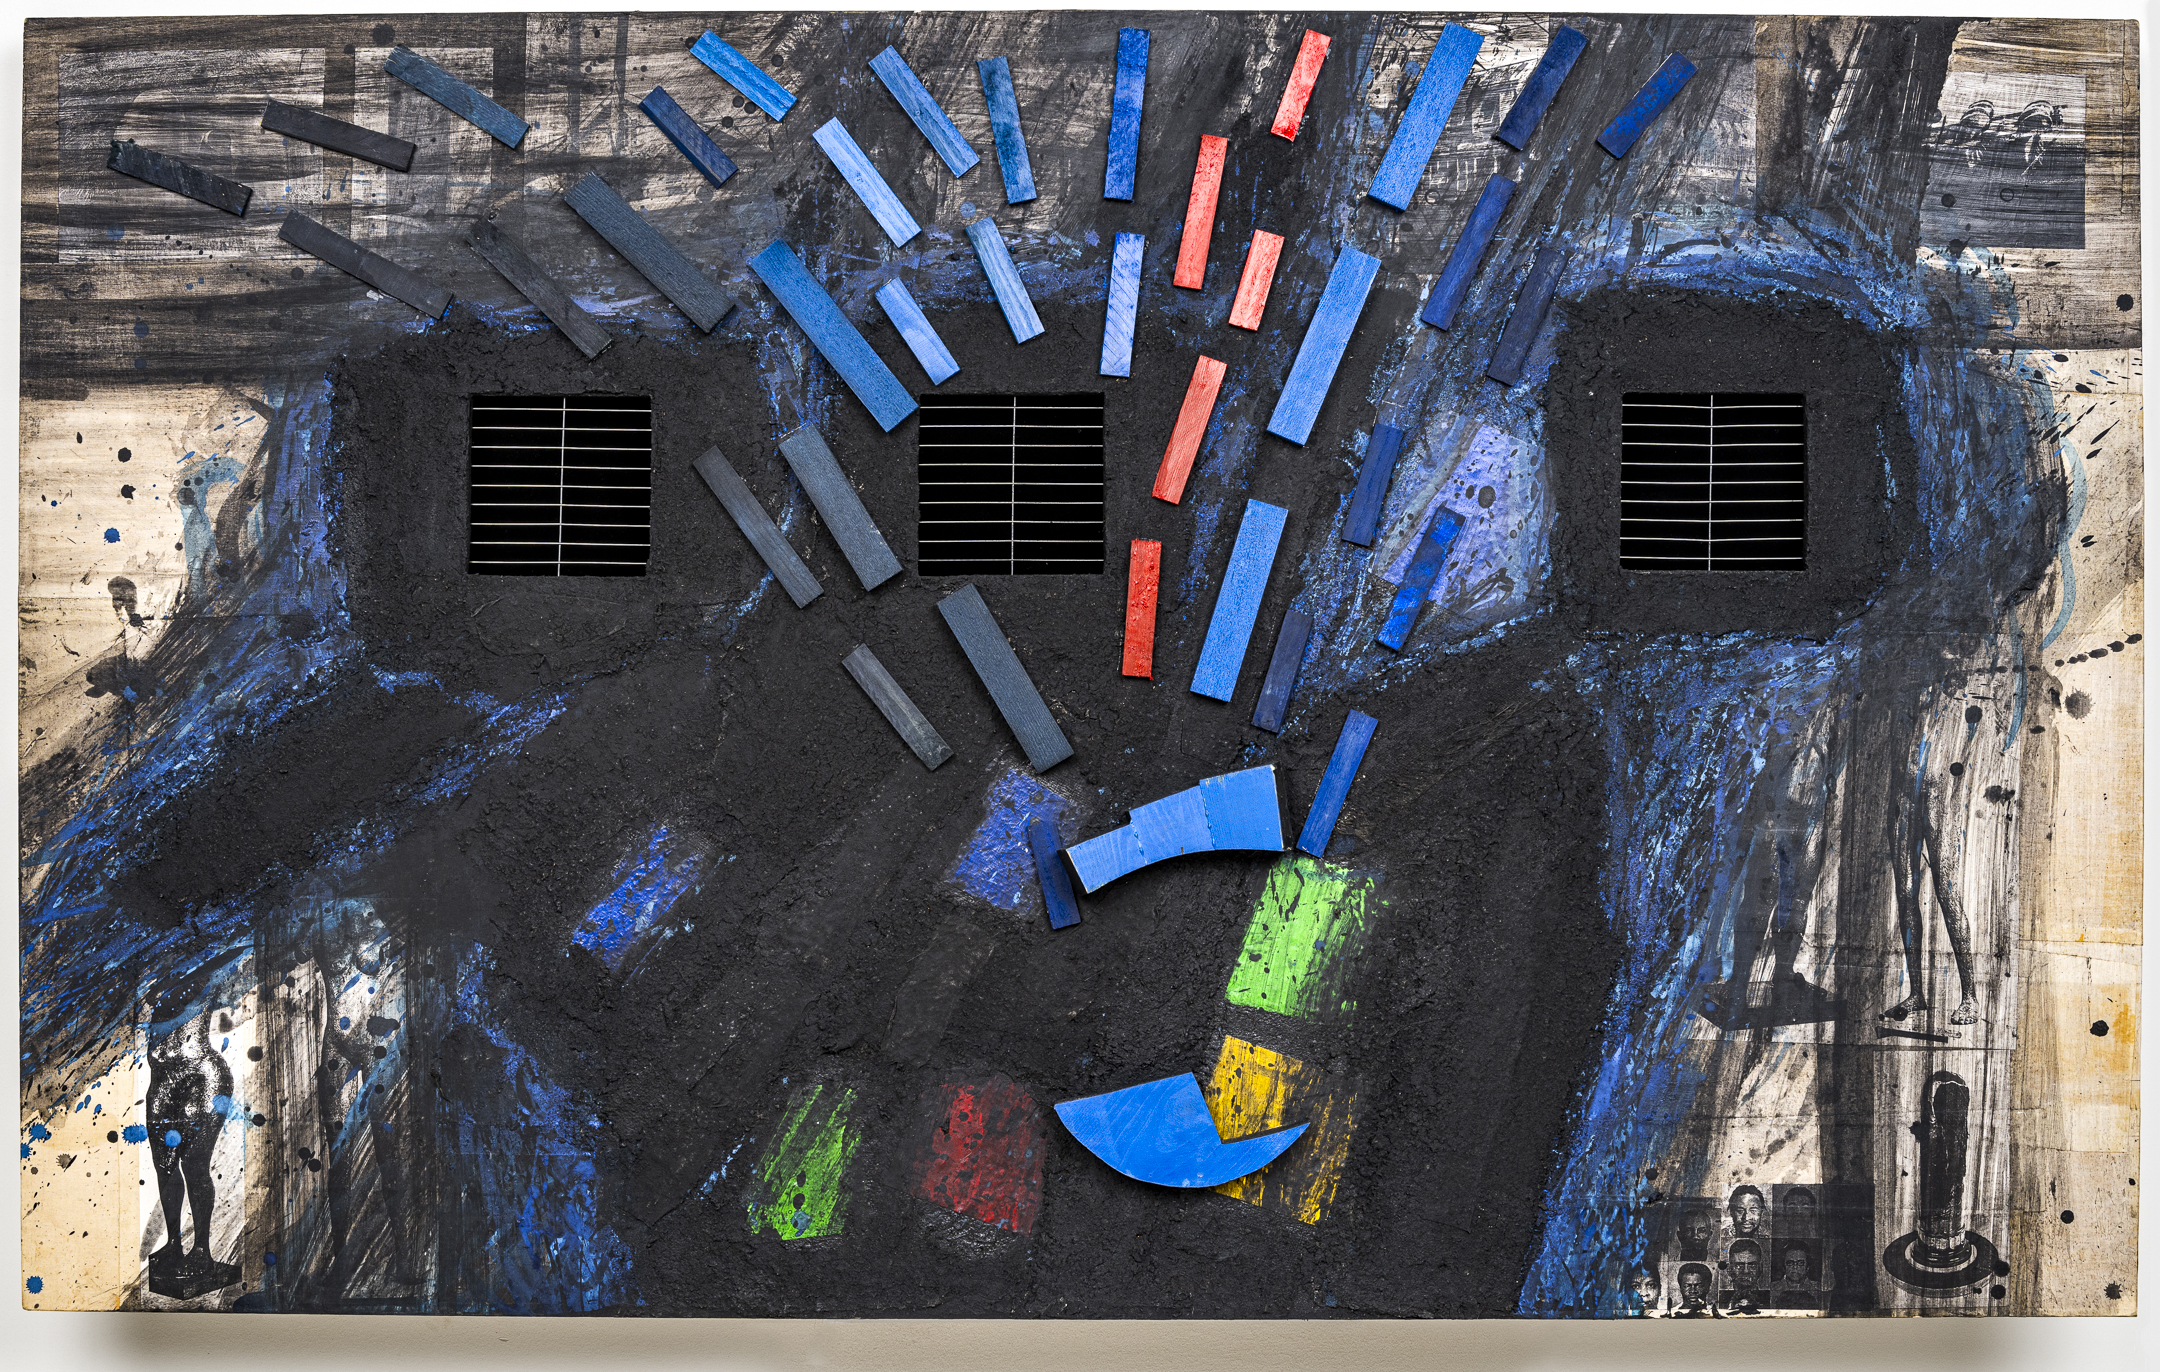
In 2015 Atlanta Contemporary dedicated an exhibition to exploring the impact Nexus Press has had bringing the art of the south to the world. Endless Road: A Look at Nexus Press can be explored through our virtual archives.
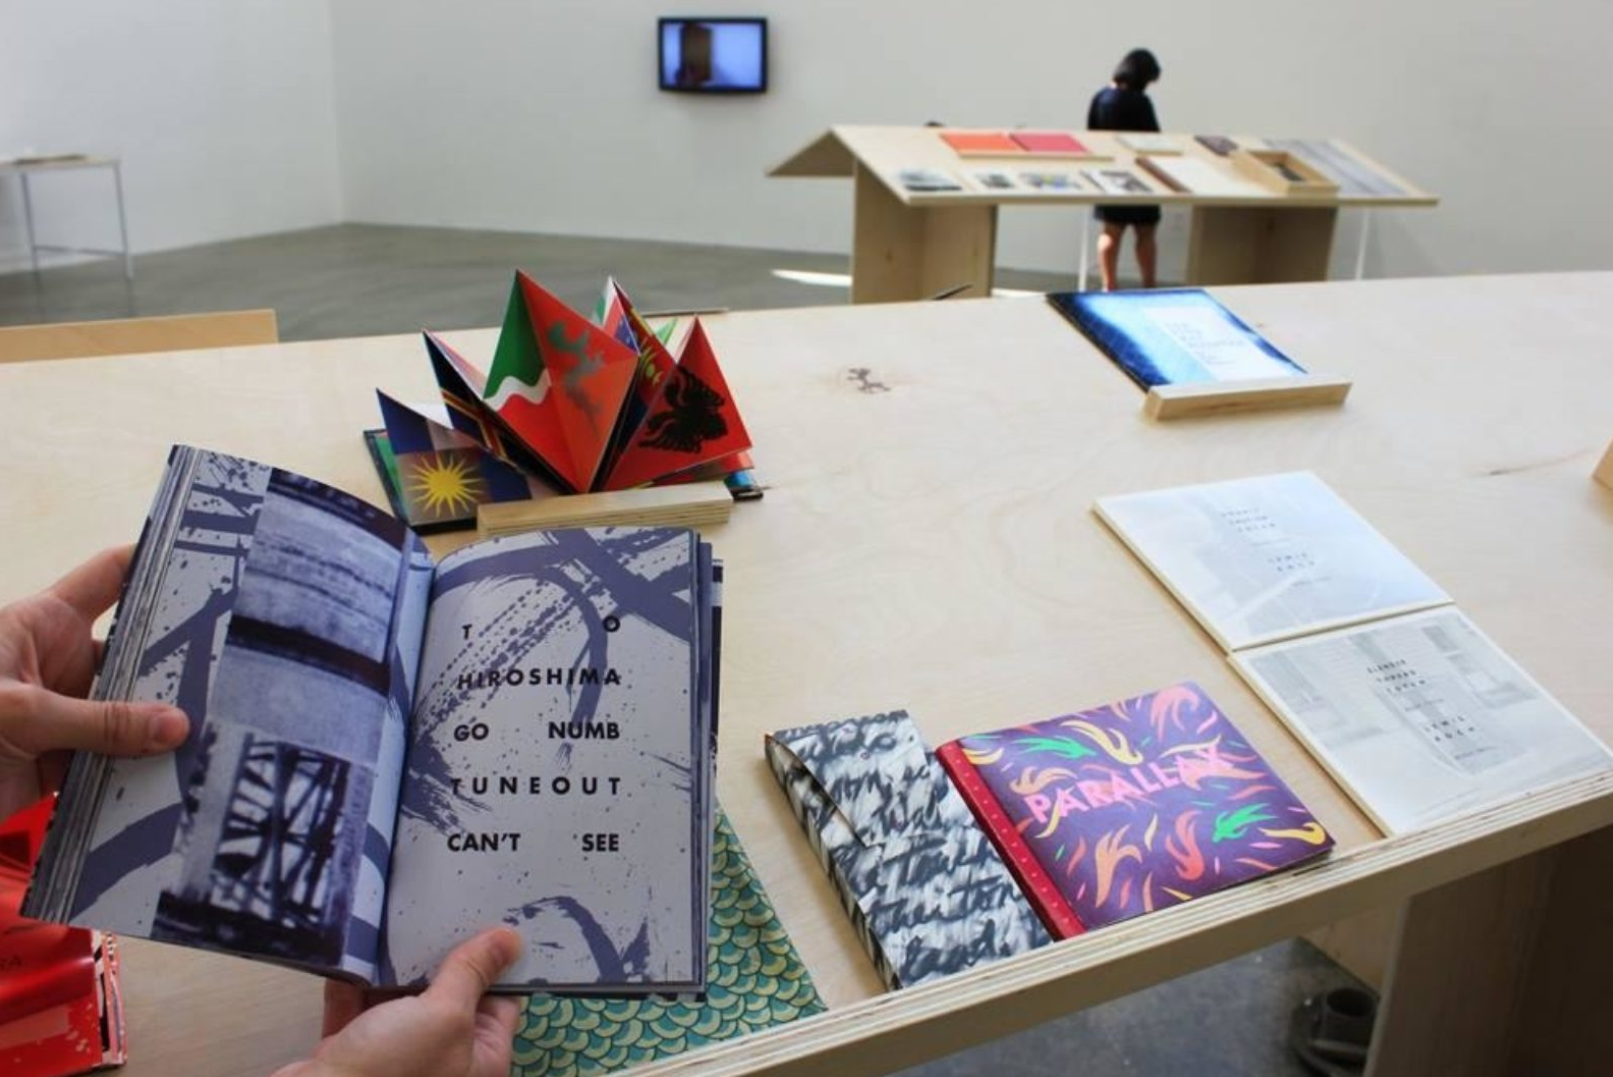
Check out these resources to learn more about Nexus Press:
- https://atlantacontemporary.org/exhibitions/endless-road
- https://www.allnexus.press/
- https://www.printedmatter.org/catalog/publisher/83
- https://www.artsatl.org/nexus-press/
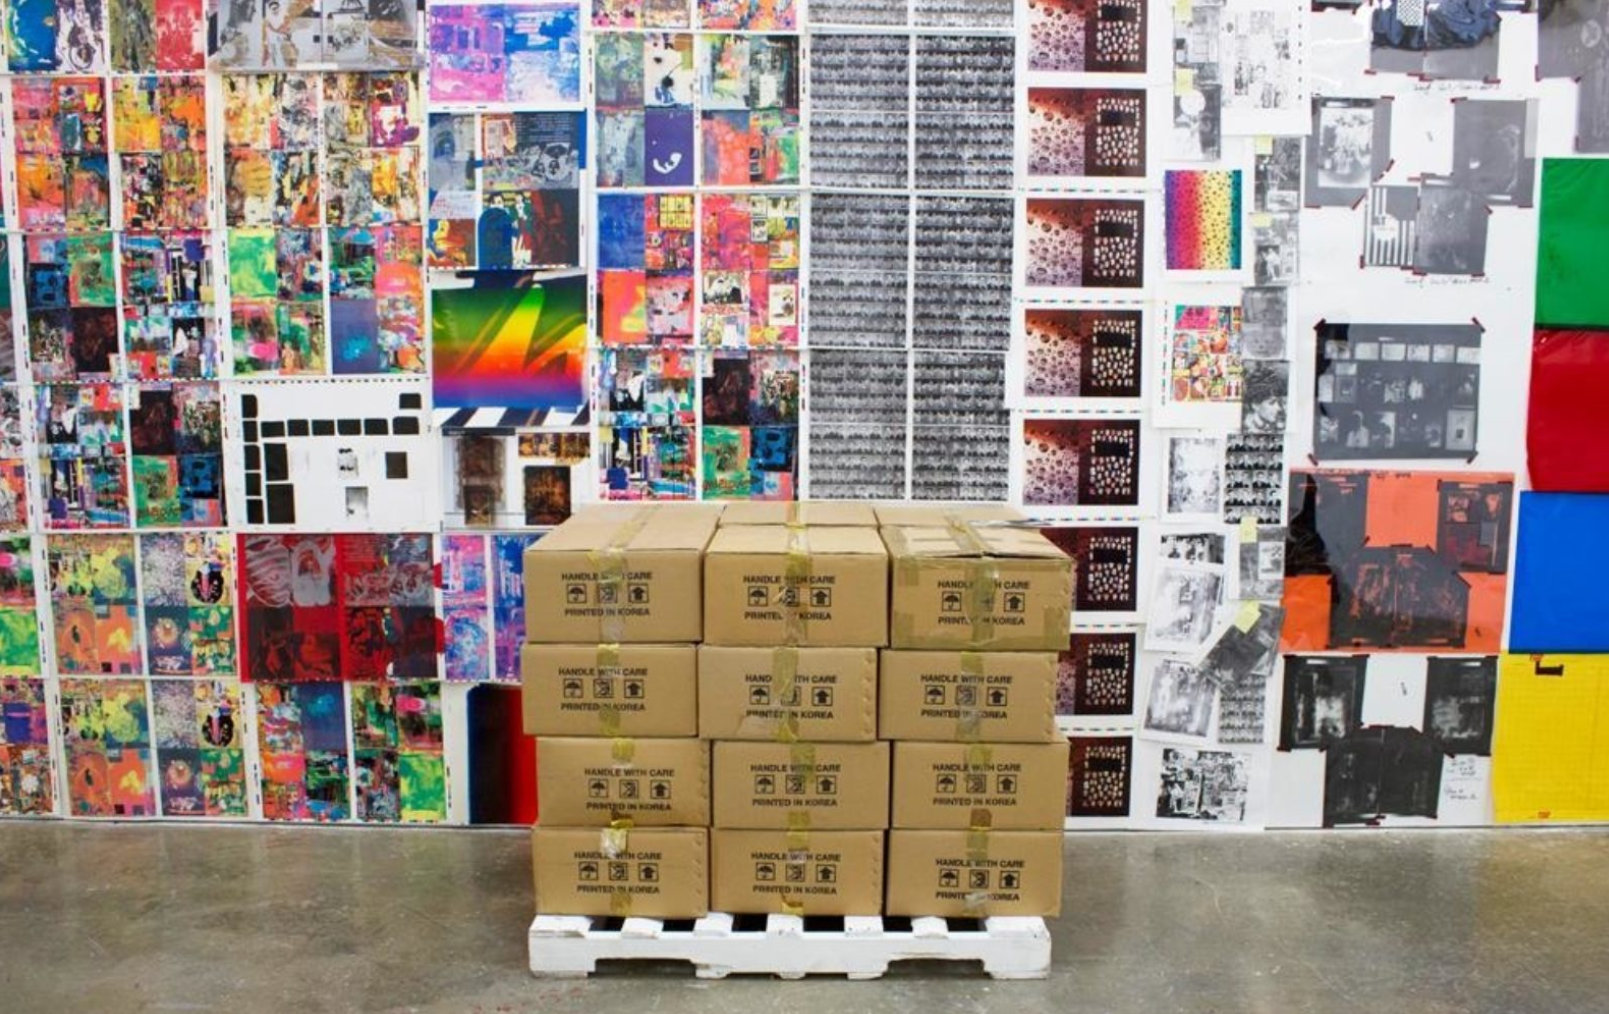
Even without professional printing materials, nothing fancy is needed to create works at home.
Making your own books starts with a very simple process. Don’t have a sketchbook? No problem! Keeping a sketchbook provides a place for all your ideas and documents your growth. These little books can fit in your pocket to record field notes on your next walk around the neighborhood or make it easier for you to remember what you needed at the grocery store.
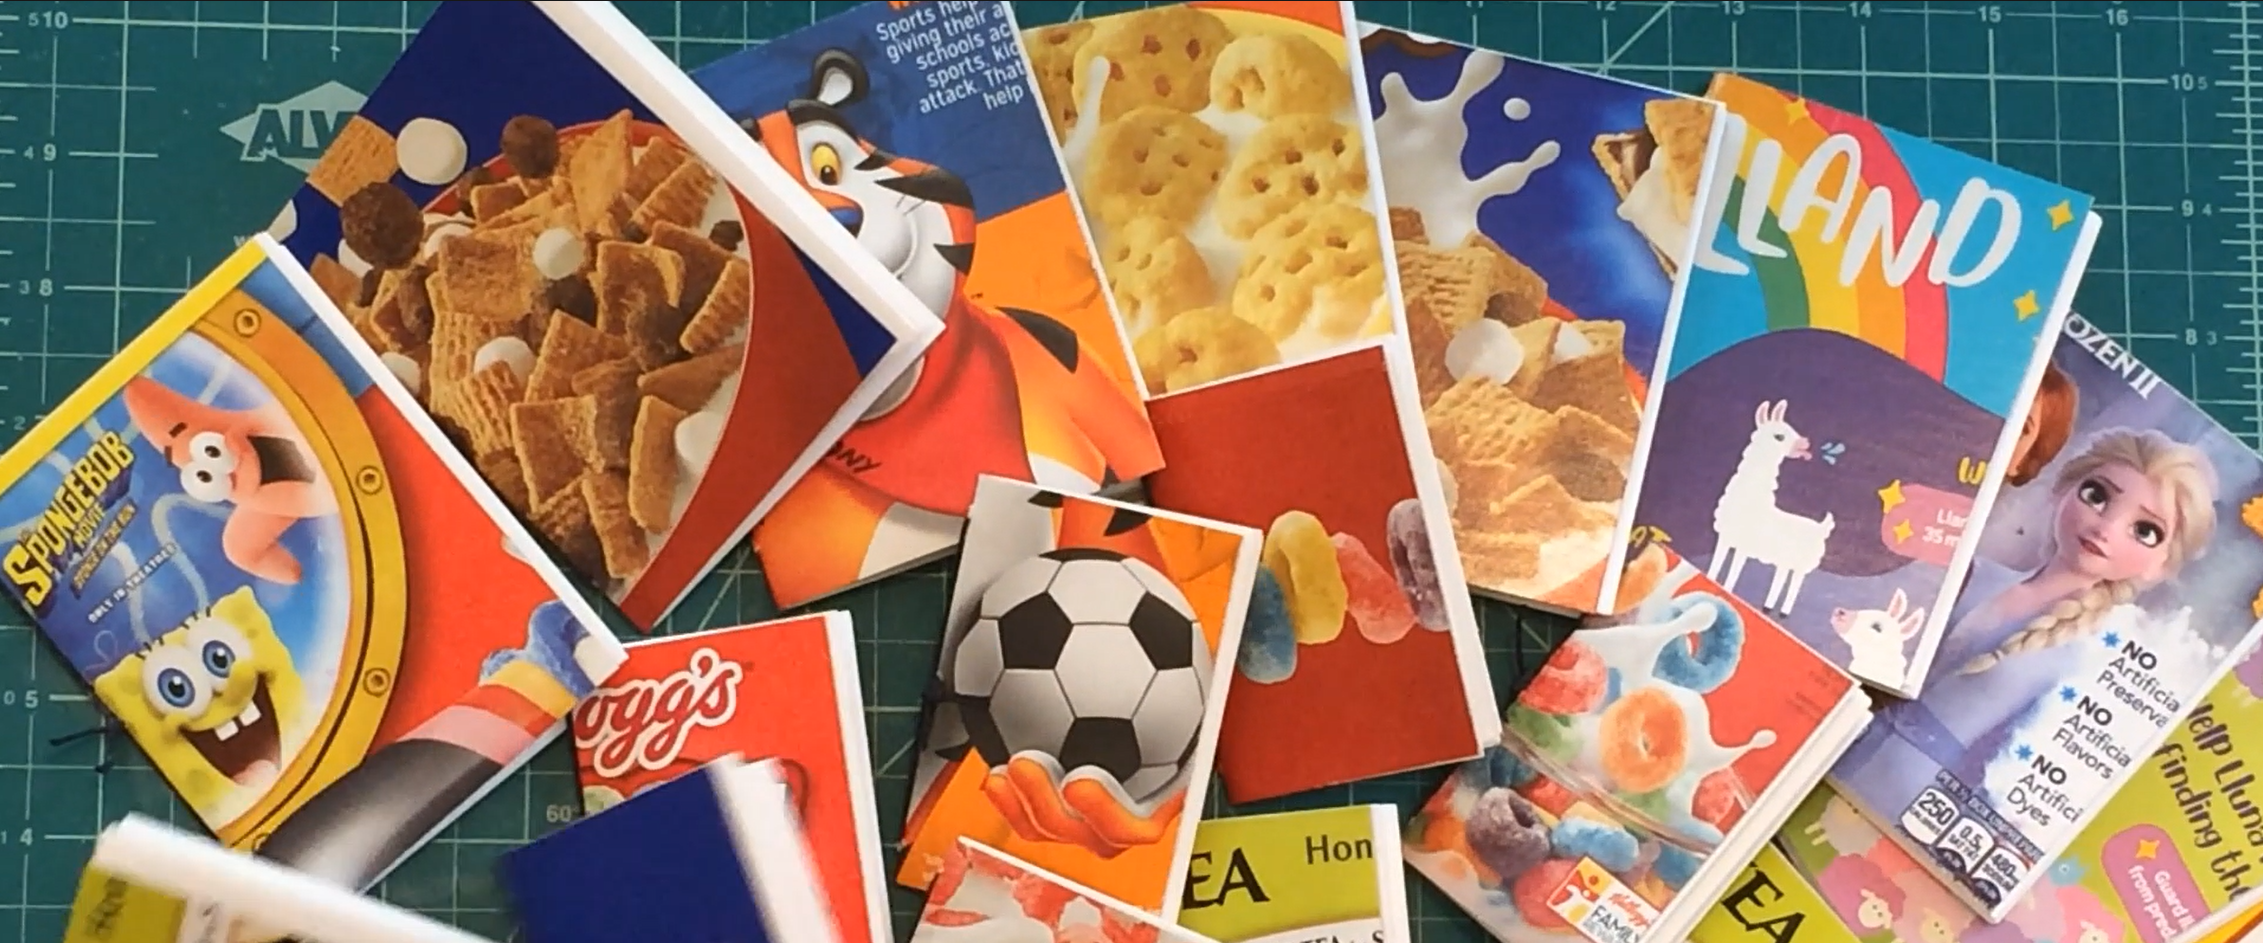
Materials you’ll need:
- Blank Paper (pages torn from a sketchbook, printer paper, and reclaimed packaging are all appropriate for this process)
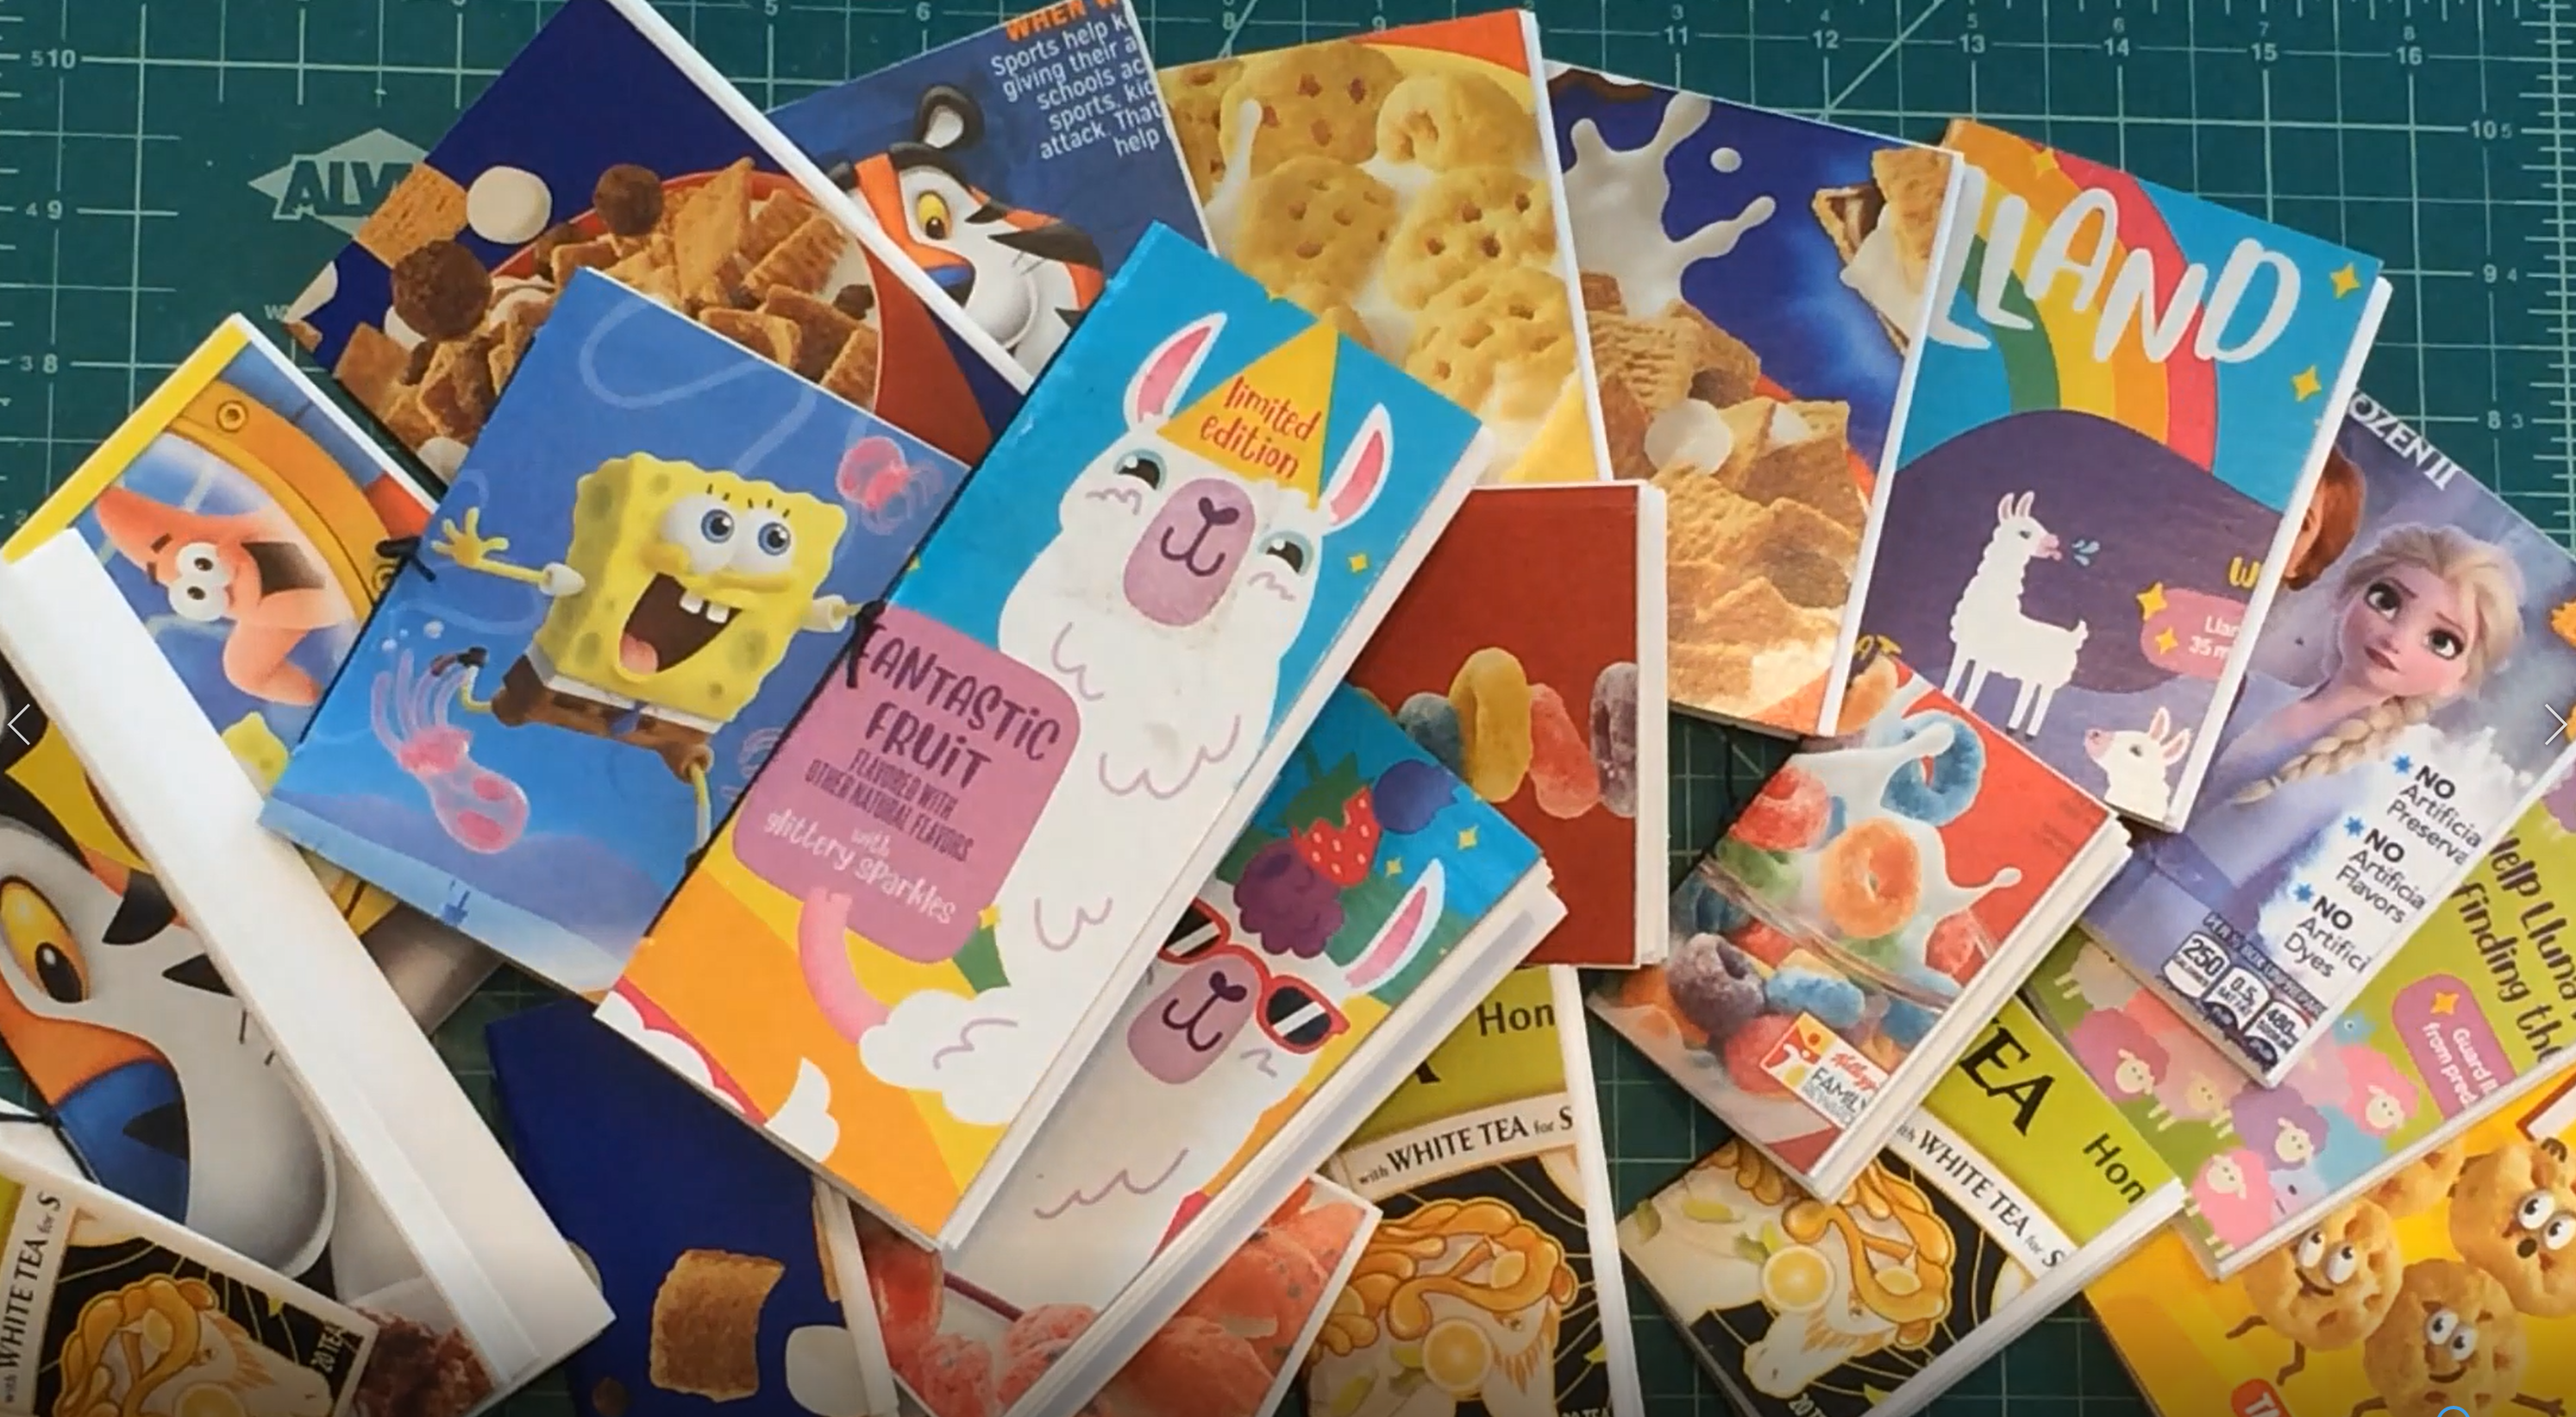
- Reclaimed paperboard (cereal boxes and other boxed food packaging work great for this process, look for imagery that interests you)
- Scissors or craft knife
- Large needle
- Waxed thread (sewing thread or even waxed dental floss can work in this process)
- Awl (if you have no awl use your needle to make guide holes)
Step 1: Choose cover design
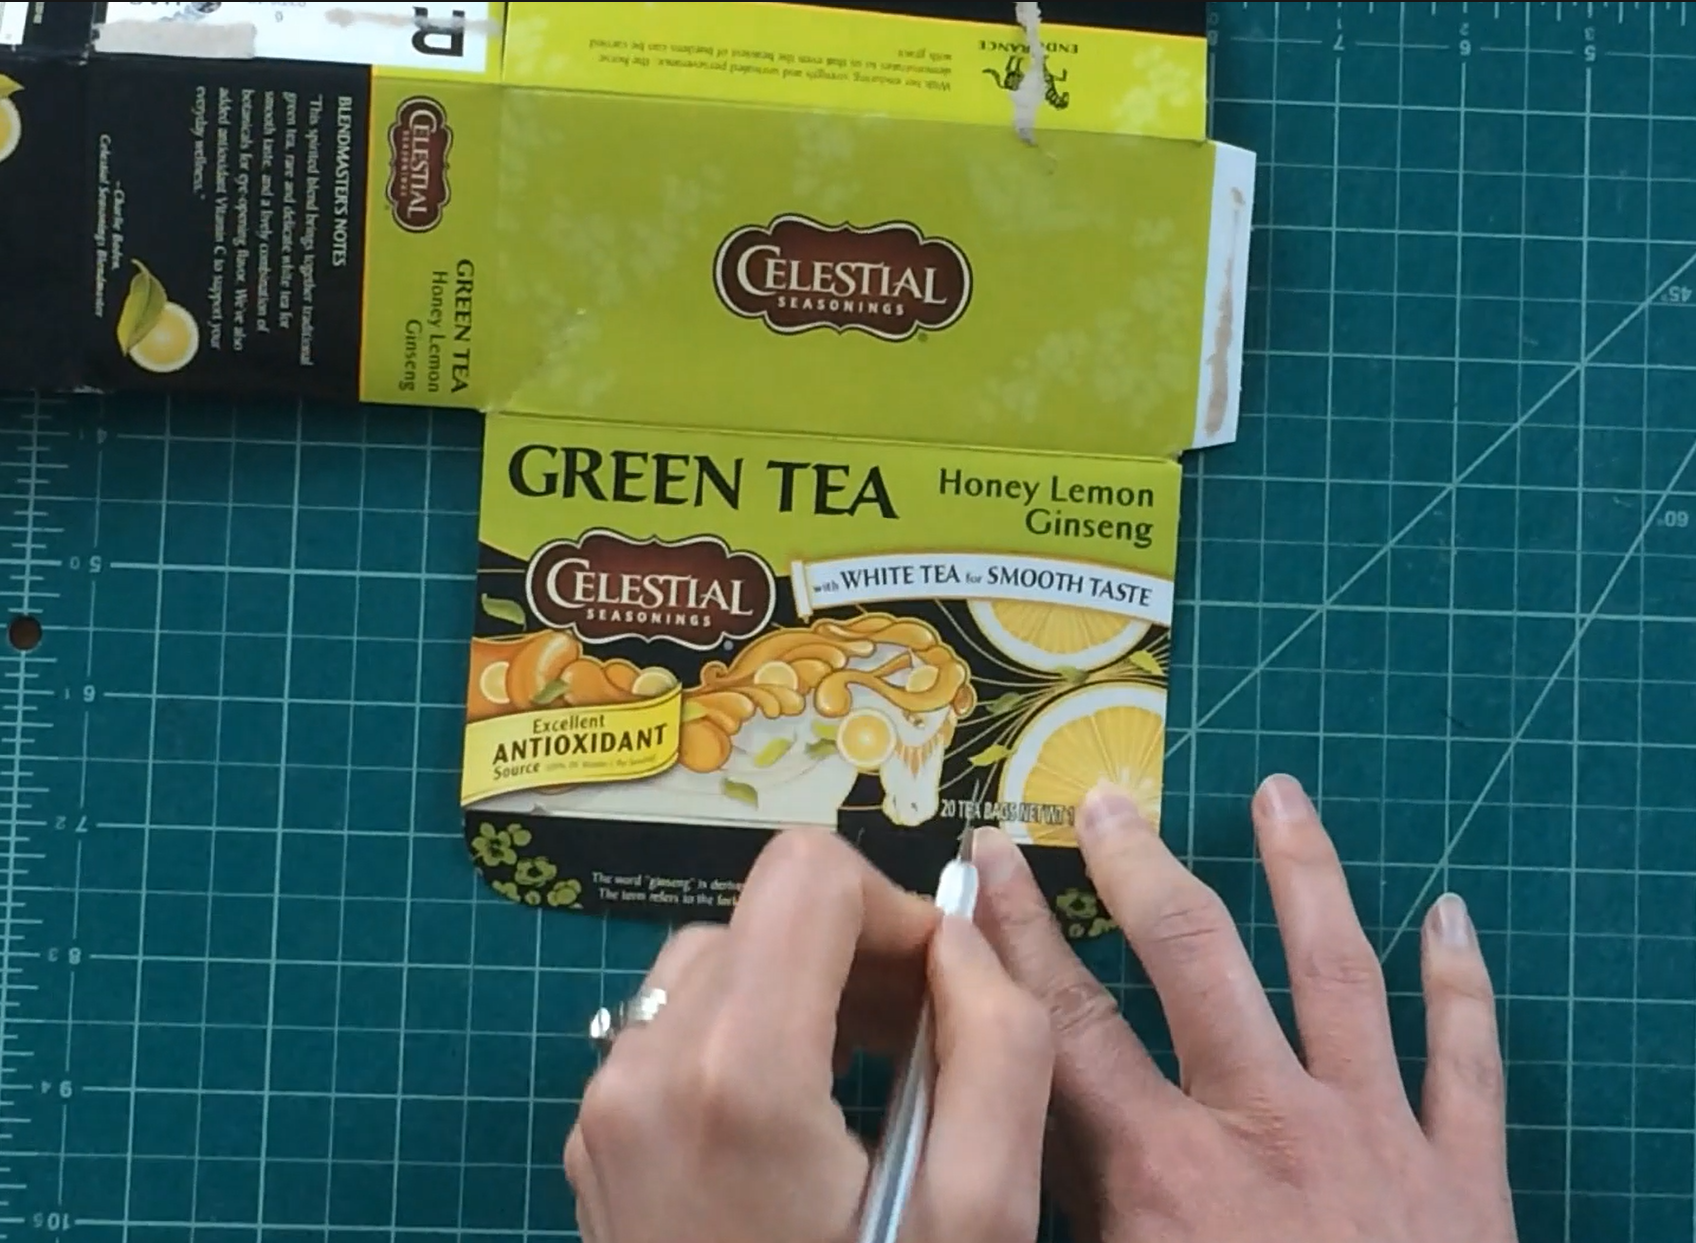
Choose a piece of paperboard for your book cover. So many interesting images are included in food packaging. Flatten out the box you have chosen and decide which area will be the focal point of your book cover, remember that the piece you cut will be folded in half to create the front and back cover of the book. Use a ruler to help ensure that book cover is cut evenly.
Step 2: Create the signature
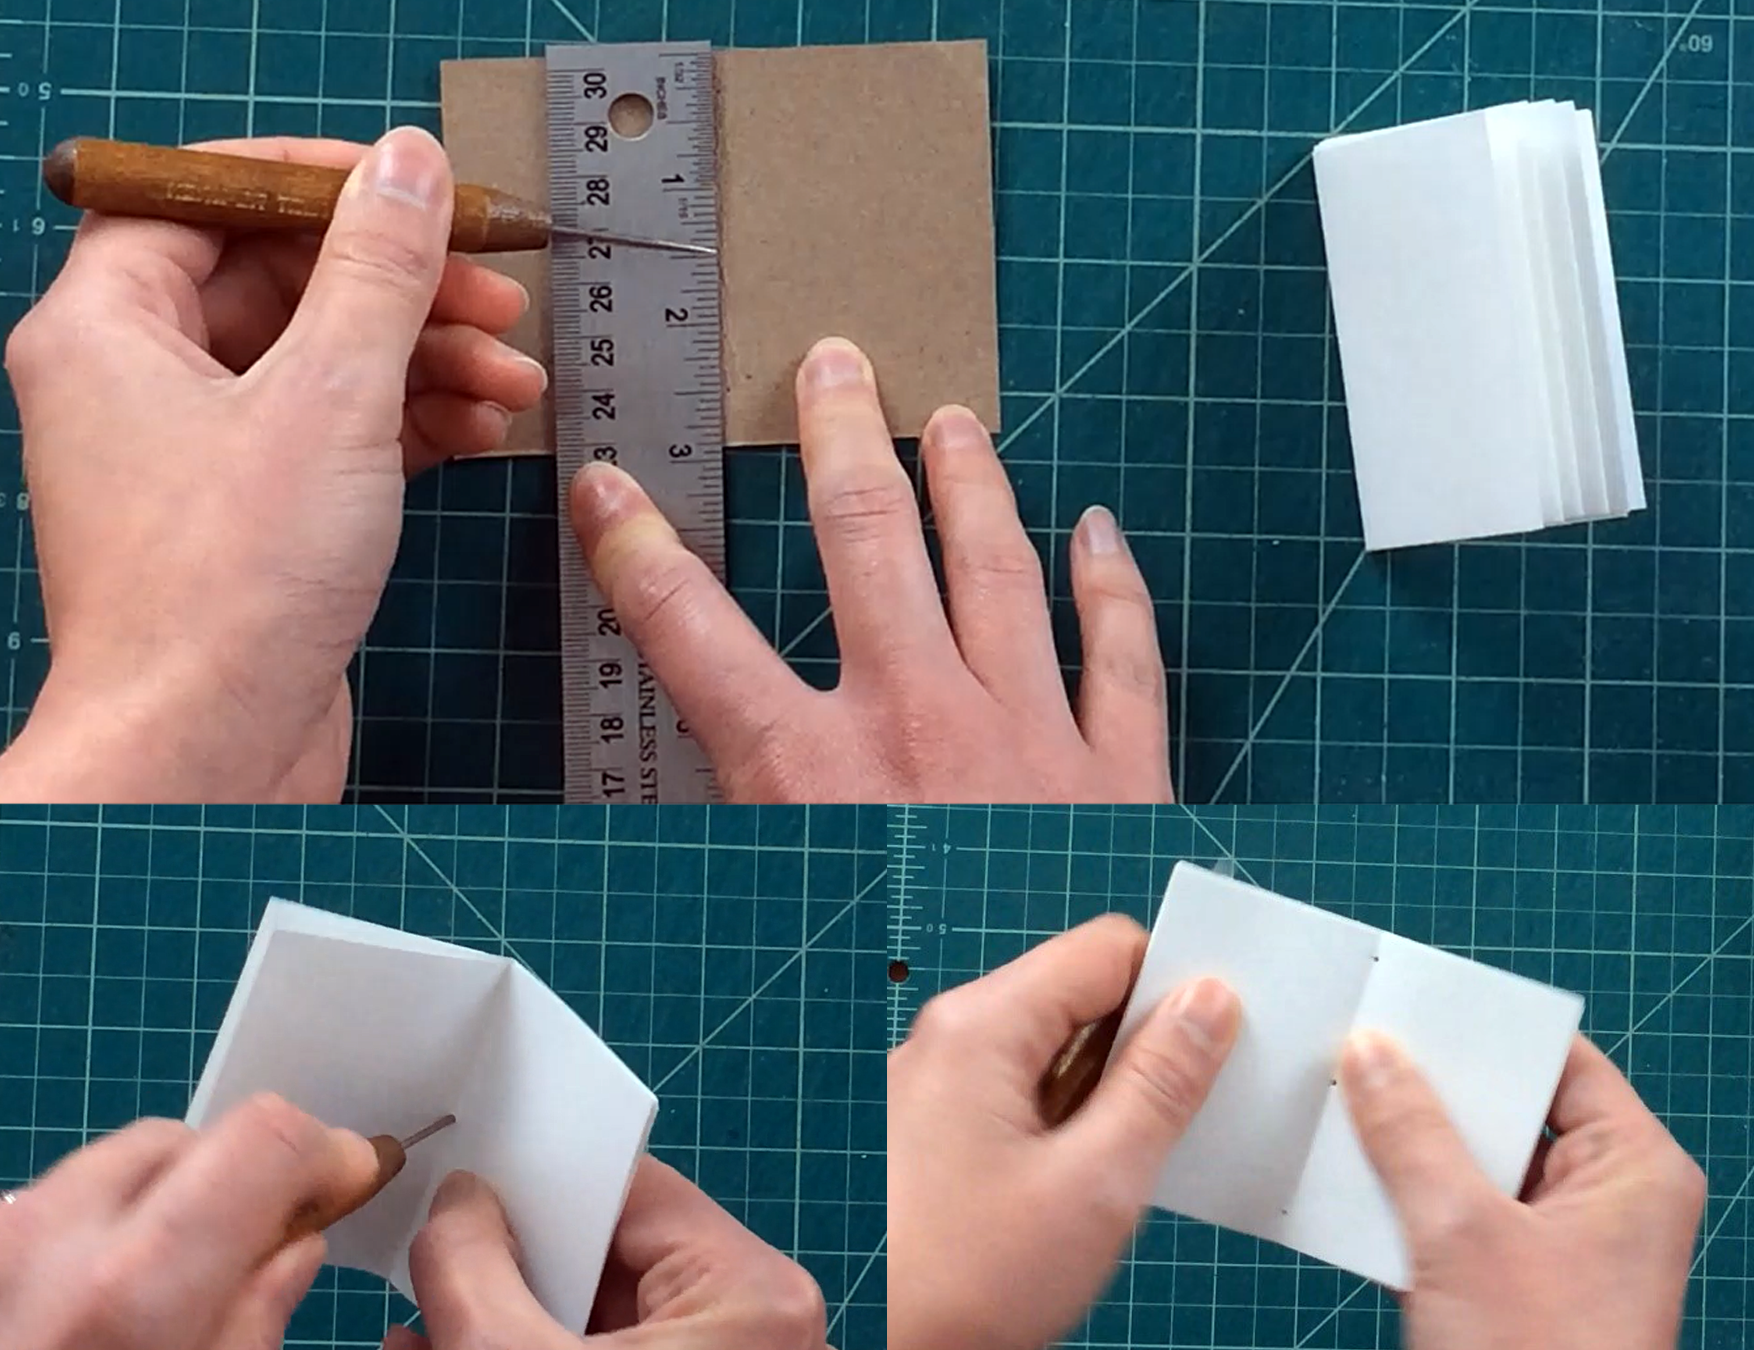
The pages of a book are folded in half and organized into groups called signatures. This book will have one signature. Stack up no more than 5 sheets of paper and cut to the same size as your cover. Stack up the papers and fold them in half together. Keep the remaining paper for more books or other projects.

Step 3: Create guide holes
For this next step we will be using an awl, a tool which creates small holes. If you do not have an awl use your large sewing needle to poke the guide holes. Use a ruler to mark ½ inch (but no less than ¼ inch) from both the top and bottom of your book cover, as well as, in the center crease of the book cover. For example: if your book cover is 4 inches tall you would make a a guide hole at ½ inch, 2 inches, and 3 ½ inches.
Repeat the process exactly the same way, using the same measurements to create guide holes in the crease of the signature. The crease of a signature or the meeting of two pages is called the gutter.
Step 4: Bind your book
Use a large sewing needle and waxed thread (or sewing thread or waxed dental floss) to bind the signature to the cover. We will be using a 3-hole pamphlet stitch. Place the signature inside of the cover with guide holes aligned.
Begin in the center hole on the outside of the cover. Pull thread through leaving at least one inch outside of the cover. Push needle through the top guide hole, back through the center hole, and finally through the bottom hole. Loop thread through itself and tie a knot. This process is illustrated in our video tutorial.

Share your work!
We love to see how you use these prompts in your artist practice. Use the tag #ACMakes on social media to share your work.
Bio
Elisabeth Herrera-Very
Elisabeth Herrera-Very is a teaching artist and art educator working in Atlanta. A former public school visual arts teacher she now focuses on community engagement and museum education. As a teaching artist she develops programming that provides inclusive, thoughtful, and relevant art experiences for participants of all ages and skill levels. Her programming at Atlanta Contemporary encourages patrons to explore their own creative process through contemporary art making practices and exploratory art making.
Location
Share your creations with us! Tag us on Facebook or Instagram @atlantacontemporary and use the hashtag #ACMAKES.

